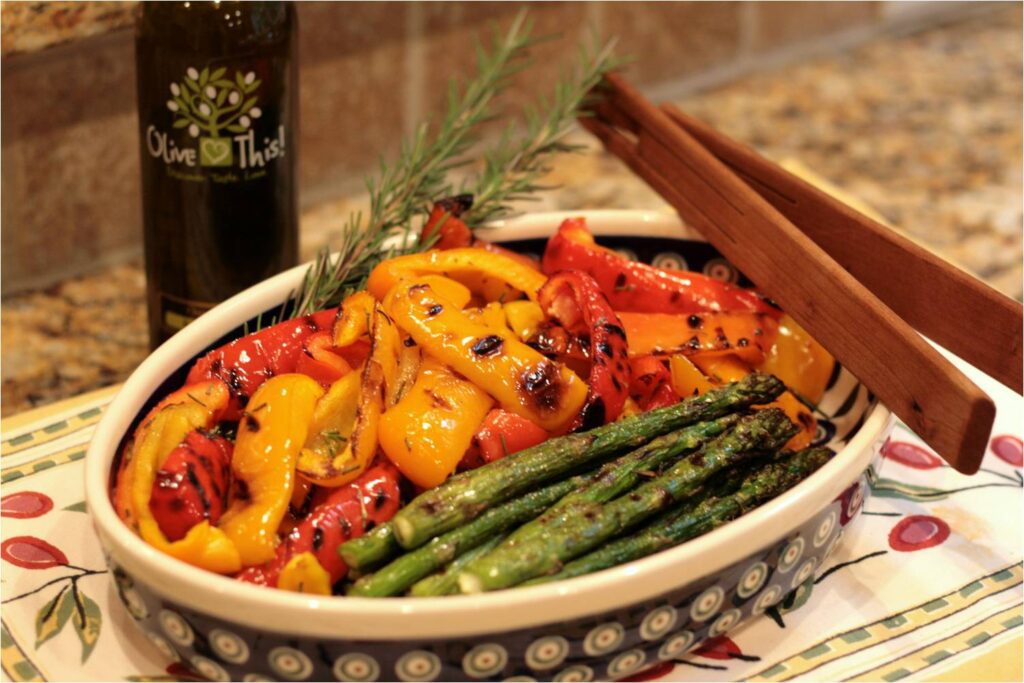
Grilled Vegetables with Garlic Olive Oil

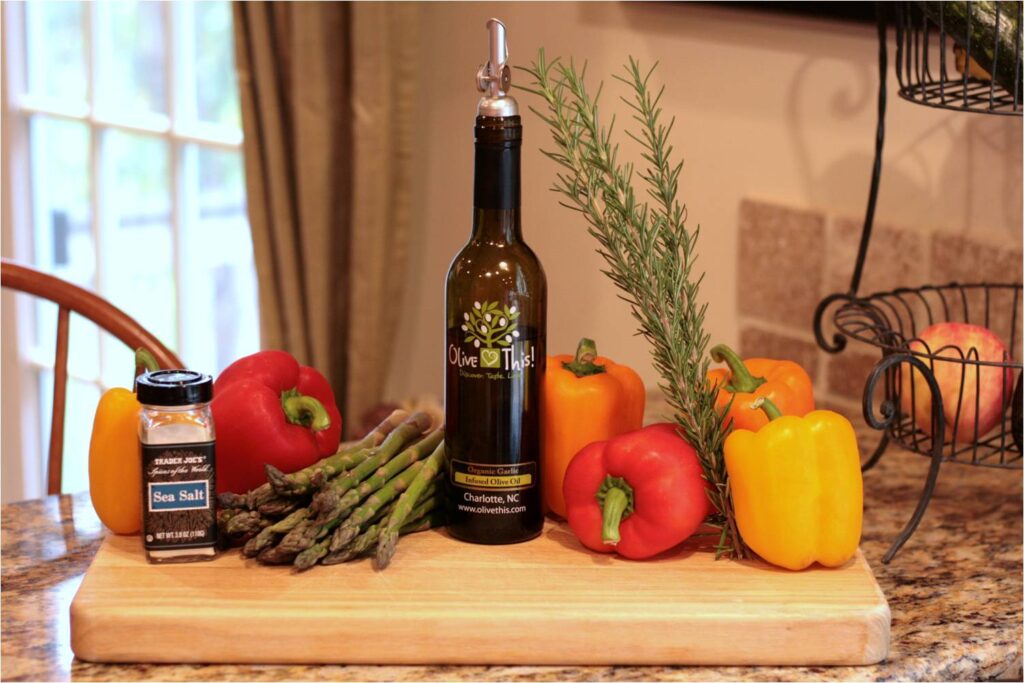
Grilled Asparagus and Peppers Feature

This is our go-to recipe for grilling vegetables. The colorful combination is a festive side dish for any occasion and they keep warm in the oven until the rest of your dishes are prepared. The garlic flavor is infused in the olive oil so it covers the veggies evenly and minimizes some of the prep time. Grill the peppers and asparagus side by side on the grill and serve them on the platter the same way to give your guests a choice. You can mix things up the next time you make this by substituting the Garlic olive oil with our Tuscan Herb olive oil (you can omit the rosemary). You may even try a drizzle of our all natural, aged balsamics over the entire serving platter right before serving.

INGREDIENTS

Grille Asparagus and Peppers Indgredients

DIRECTIONS

Prepare grill to med-high heat. Clean grates well.

Chop Vegetables

Cut open the peppers, seed and remove ribs. Slice peppers into 1 inch strips. Chop rosemary. Cut off (or snap naturally) the tough ends of the asparagus.

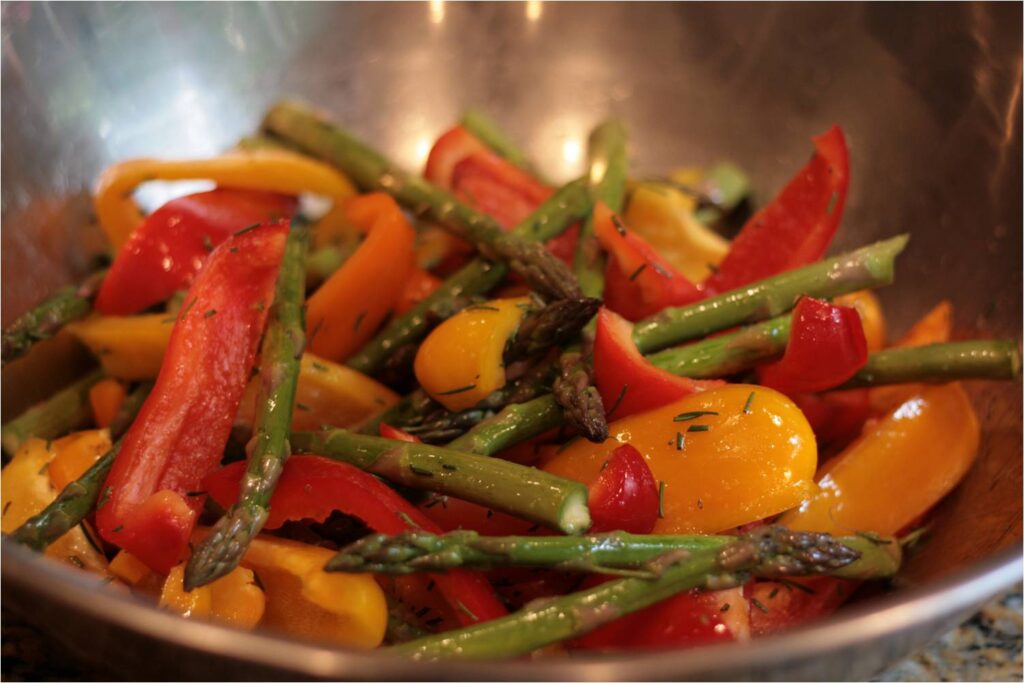
Mixed Before Grilling

Combine all ingredients into a large bowl and toss well. We find it much easier to simply use our bare hands.

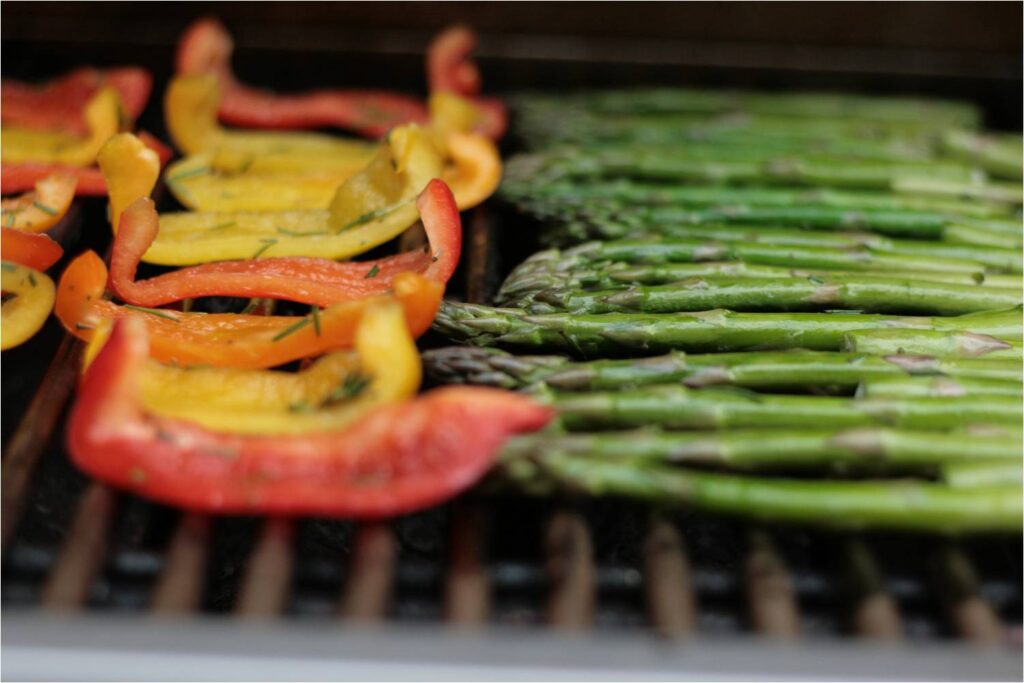
Side One on the Grill

Oil grill grates well. Lay peppers on one side of grill, skin side down. Lay asparagus in a single layer on the other side of the grill against the direction of the grates. Grill for 4-5 minutes. Start checking on the veggies in the same order as you put them down since they start cooking immediately. Also, vegetables closer to the outer edges of the grill won’t cook as quickly as those in the center.

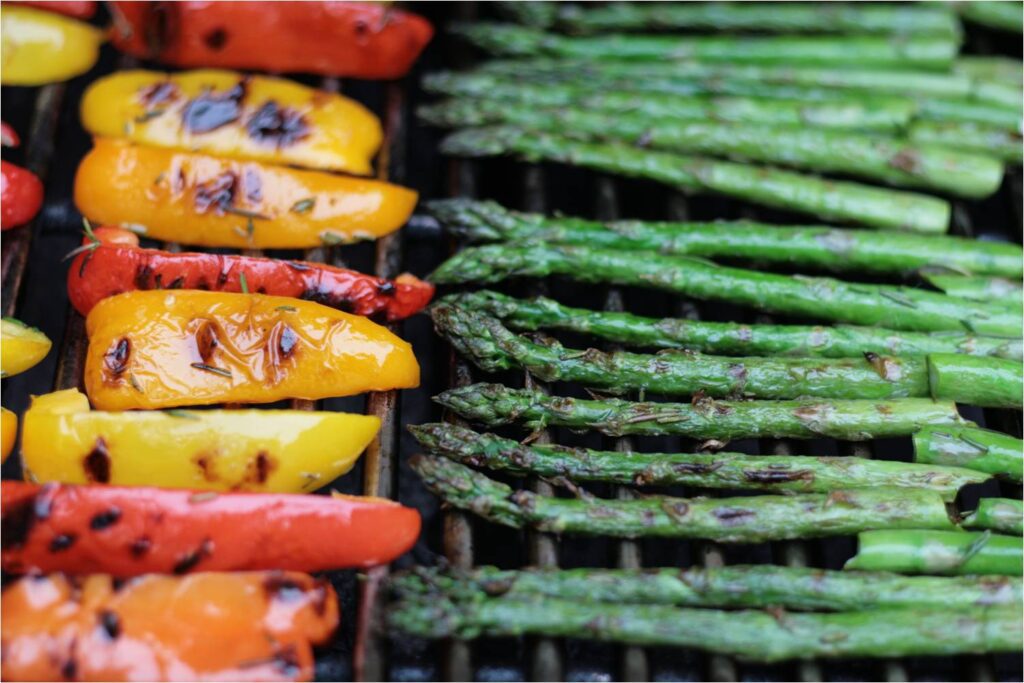
Side 2 on Grill

After turning all vegetables, grill for another 2-3 minutes checking frequently. Remove from grill, transfer to serving platter in separate stacks of peppers and asparagus. Garnish with rosemary sprigs and serve.

SERVES 4-6

Have a comment? We’d love to hear from you. Have you tried this dish? Do you have a variation that you think others will enjoy? Leave us a comment below.

Chinese Sweet & Sour Pork Spareribs with Honey Ginger Balsamic

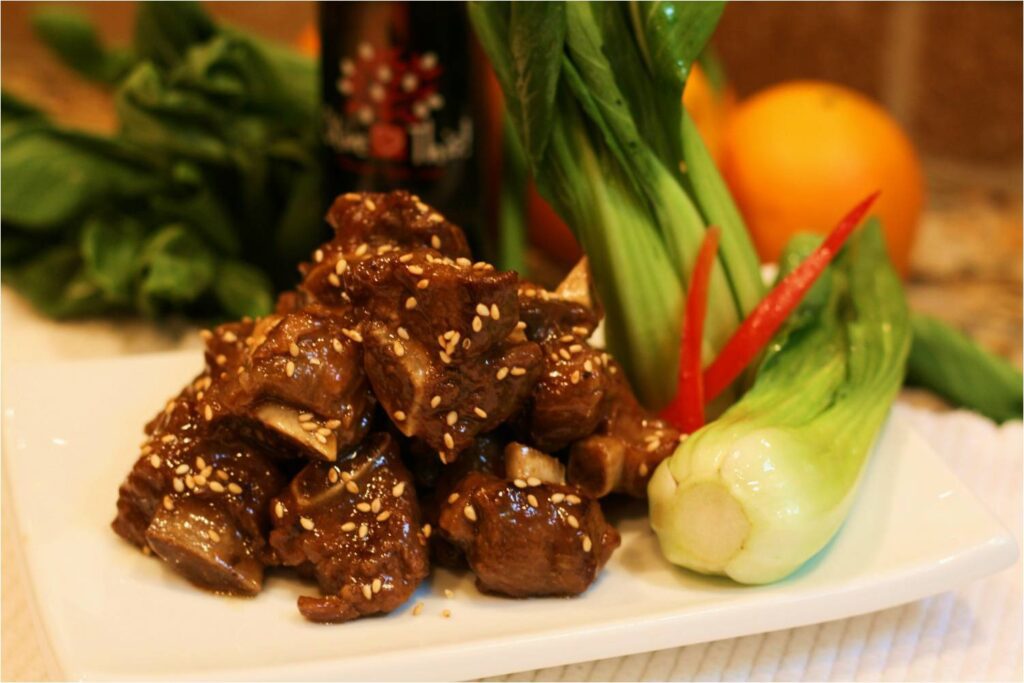
Sometimes we throw together a recipe that in the end makes us think our products were made just for that dish. It happened when we made our Dark Chocolate Walnut Fudge with Blueberry Balsamic and now it happened again when we created these spareribs. Our Honey Ginger White Balsamic Vinegar fits this flavor profile perfectly. Because of the complexities in the balsamic vinegar, we were able to achieve a full-bodied sweet and sour sauce with only 4 ingredients – and one of those is water! There are a few steps in this recipe but none are too difficult and you’ll feel good about making this popular Chinese take-out dish a lot healthier and in your own home. Some “fast-food” Chinese places deep fry the meat and add a syrupy sauce at the end. We purposely chose to avoid deep frying; by simmering them in the homemade sauce for 30 minutes we were able to achieve the full depth of flavor without the greasy taste. Healthier and tasty; that’s how we like it!

INGREDIENTS

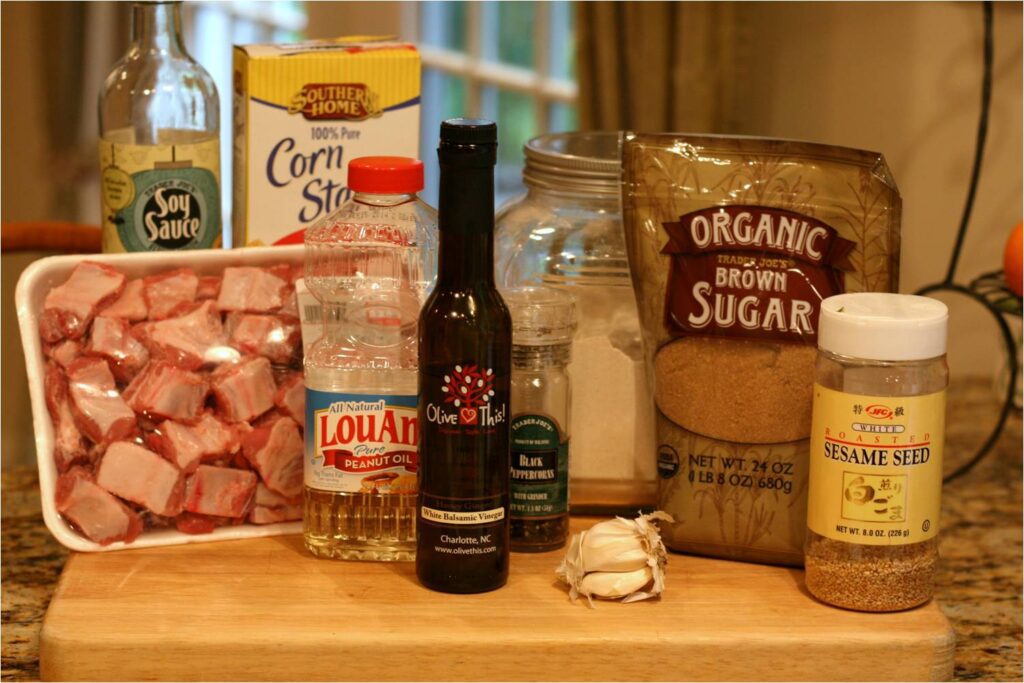
  • 2½ pounds pork spareribs (you can find these already cut up and ready to go at the Asian store – we found ours at Grand Asia in Stallings, NC for less than $8)
  • 5 tablespoons soy sauce, divided
  • ½ cup plus 2 tablespoons Olive This! Honey Ginger Balsamic, divided
  • 3 tablespoons flour
  • ½ cup brown sugar
  • 2 tablespoons peanut oil
  • 2 cloves of garlic, minced or pressed through a garlic press
  • 2 tablespoons corn starch
  • Sesame seeds, as a garnish
  • freshly ground black pepper to taste

DIRECTIONS

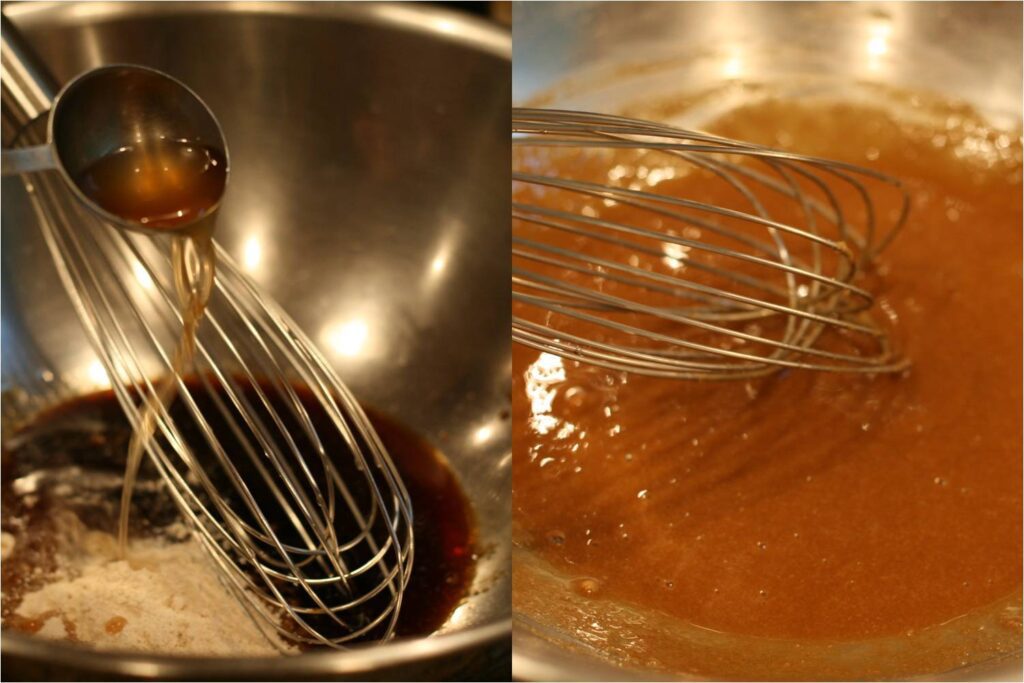
First make a marinade to coat the ribs. In a medium-sized bowl, whisk together 2 tablespoons of soy sauce, 2 tablespoons of Honey Ginger balsamic vinegar and 3 tablespoons of flour. Whisk until well blended.

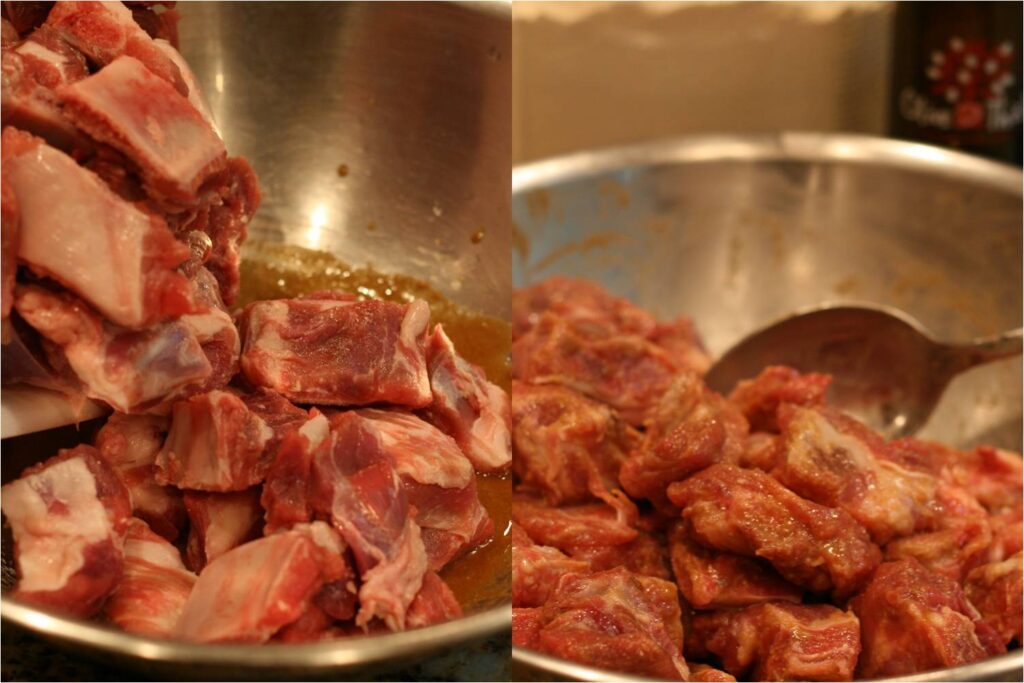
Add spareribs to marinade and stir to coat well. Let stand for about 15 minutes, mixing occasionally.

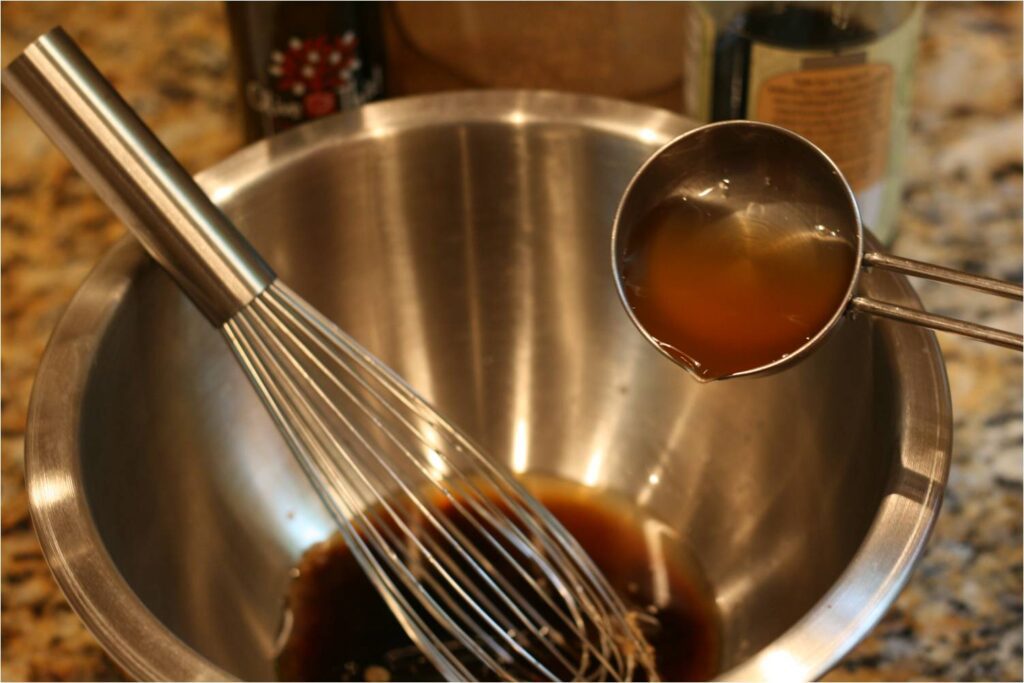
Meanwhile, prepare the sweet & sour sauce.  In another medium-sized bowl, mix together ½ cup of Honey Ginger balsamic, ž cup of water, 3 tablespoons of soy sauce, and ½ cup of brown sugar until well combined. Set aside.

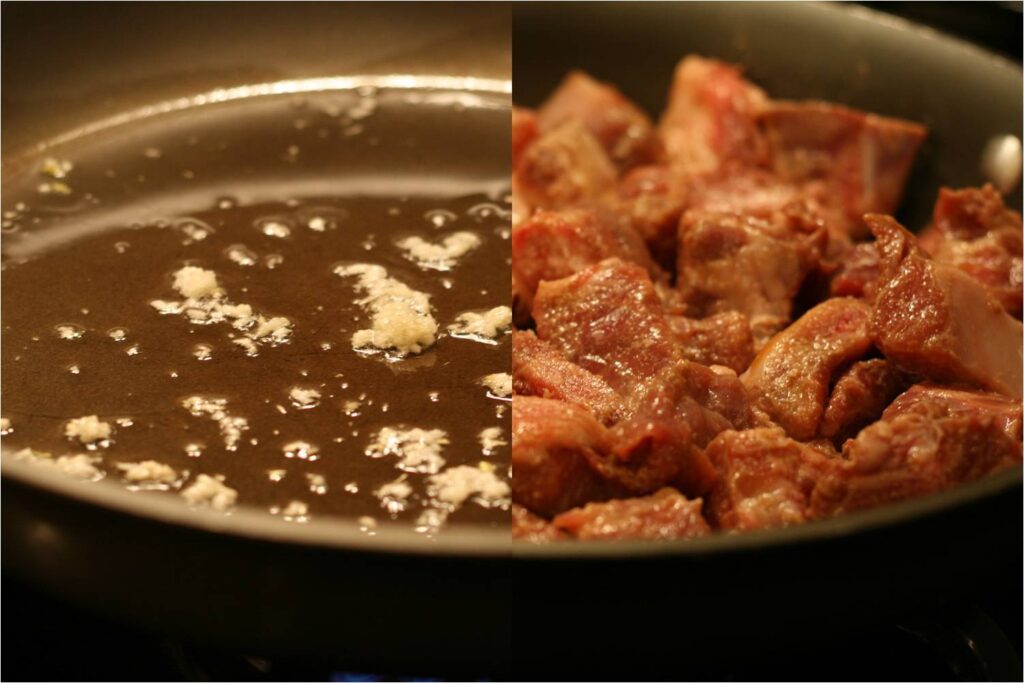
Next, brown your spareribs before letting them cook in the sweet & sour sauce. In a large sautÊ pan, heat the 2 tablespoons of peanut oil over high heat. When the oil is shimmering, but not smoking, add the 2 cloves of minced garlic. Stir quickly for about 30 seconds being careful not to let the garlic burn.  dd the spareribs that have been set aside marinating.

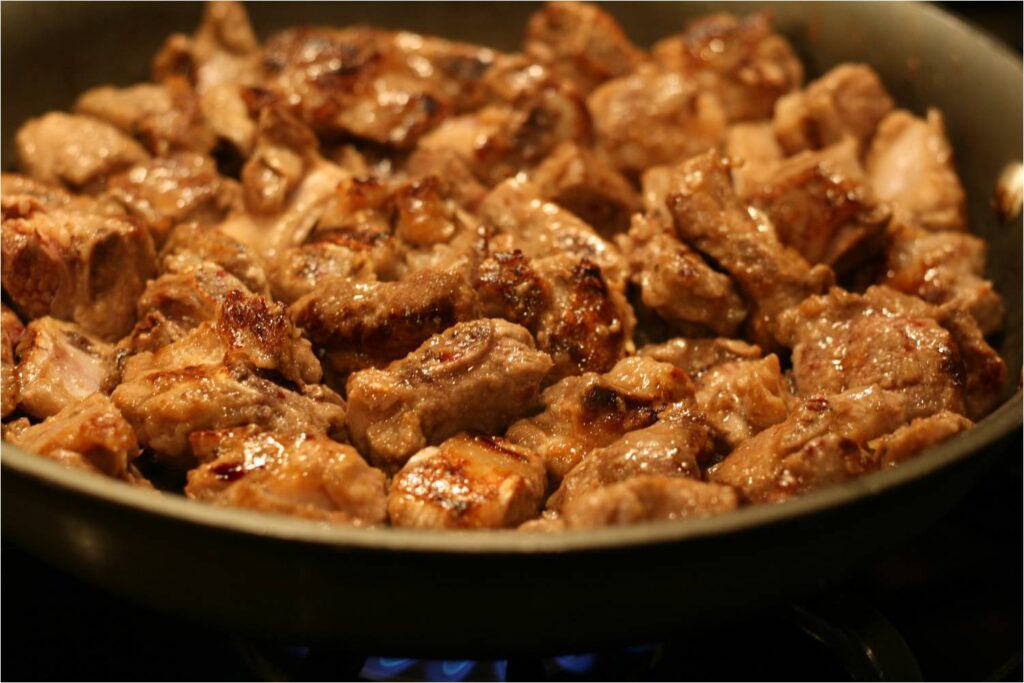
Cook spareribs on all sides. Do not turn too frequently as you want to keep the ribs untouched long enough to achieve brown sear marks. The high heat helps. It took us about 8-10 minutes to brown the batch of ribs. When the ribs are done, place them on layers of paper towels to drain.

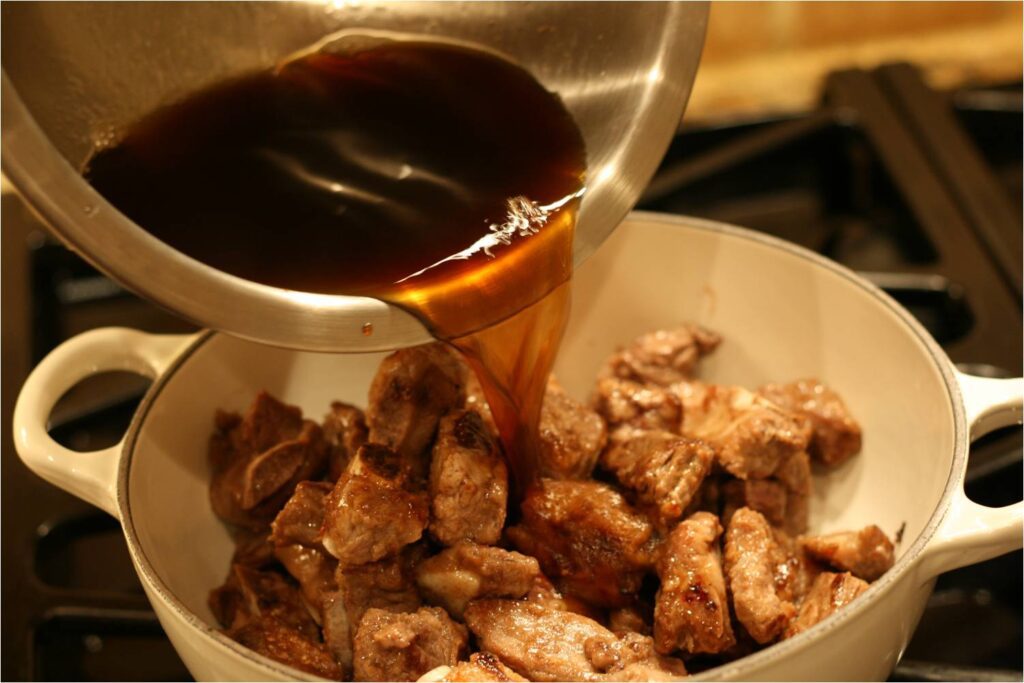
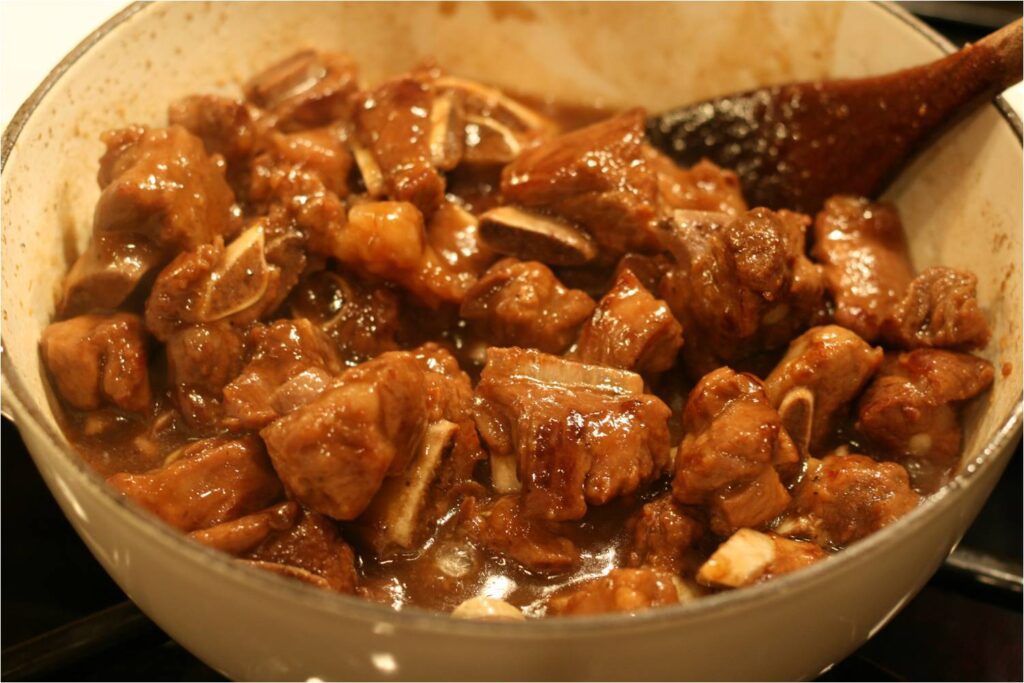
Transfer all the spareribs into a small dutch oven or large sauce pan on the stove. Pour the sweet and sour sauce you made earlier over the ribs and cover. Turn on heat to medium-low and let the spareribs simmer, covered, for about 30 minutes. Turn spareribs about 3-4 times throughout.

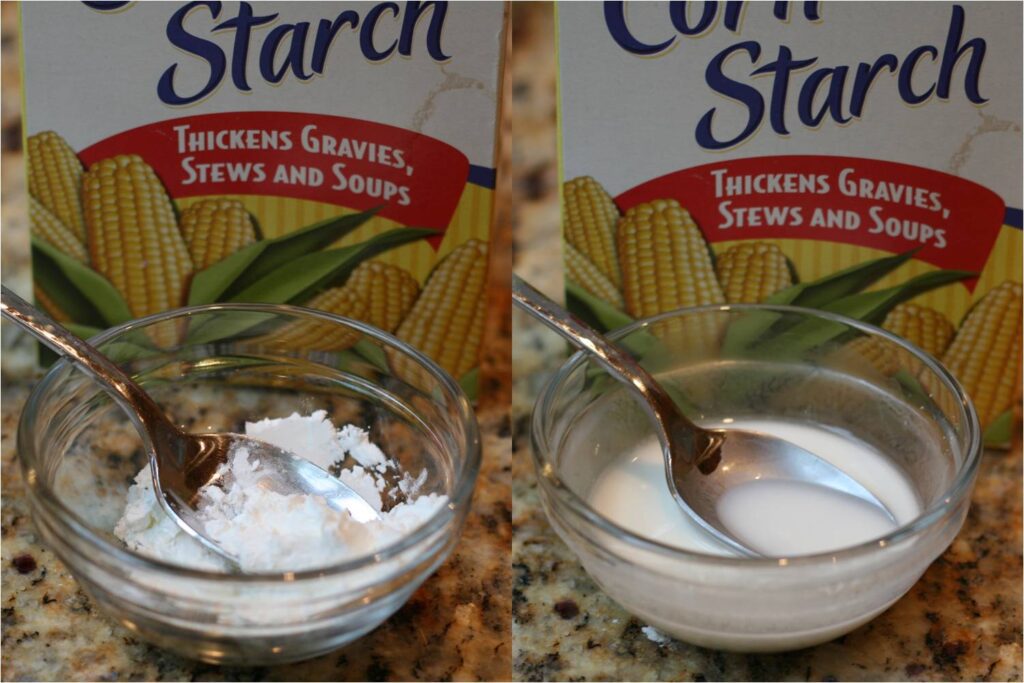
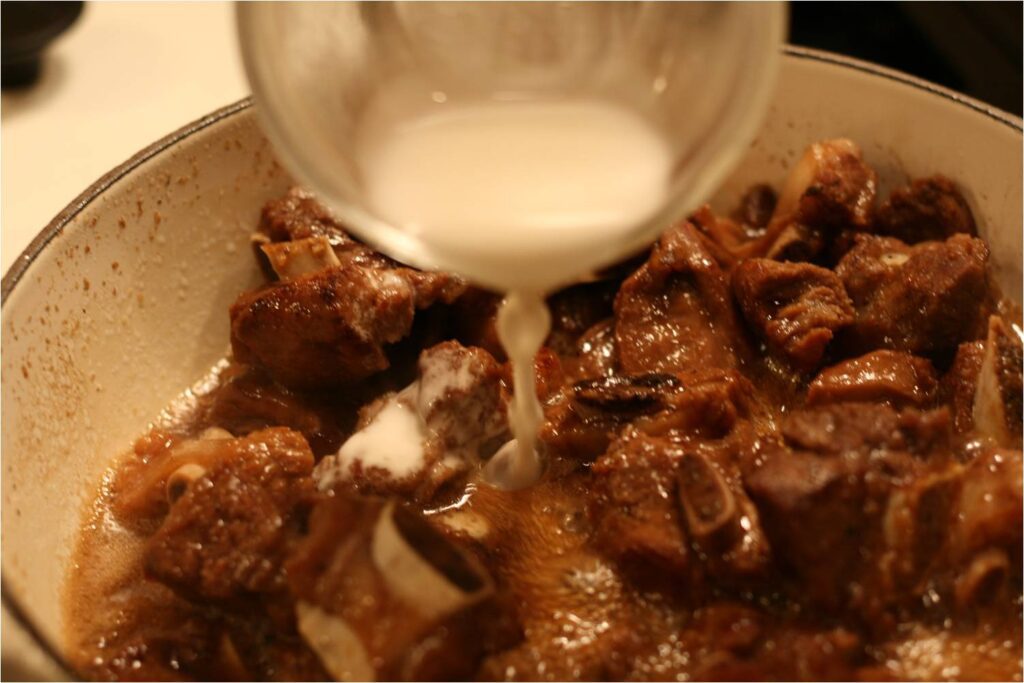
While the spareribs cook, work on your thickener. For this dish we used a cornstarch/water mixture, sometimes called a slurry. This is preferred over adding just cornstarch by itself to the sauce which may create lumps. Measure out 2 tablespoons of cornstarch into a small bowl (more or less, depending on how thick you want your sauce to be). Add 2 tablespoons of cold tap water and stir well. Set this aside; you’ll be adding it at the end of the cooking time. This slurry mixture may settle so be sure to give it another stir right before adding it to the dish.

After about 30 minutes of cooking the spareribs in the sweet and sour sauce, remove the cover. Grab your cornstarch/water mixture and give it another stir. Add it to the pot in a thin stream while stirring the sauce and ribs with a wooden spoon. Go easy at first, you can always add more as you go. Give the whole thing a good stir and let it cook, uncovered for about 3-5 minutes more. You’ll notice the sauce start to thicken.

Season to taste with freshly ground black pepper, garnish with toasted sesame seeds and you are ready to serve. Be sure to use a large serving spoon so you can pour that thick sauce all over your bed of white (or brown) rice. Enjoy!

SERVES 4

Have a comment?  We’d love to hear from you.  Have you tried this dish?  Do you have a variation that you think others will enjoy?  Leave us a comment below.

Orange Walnut Waffles with Lavender Balsamic

Waffles from scratch? This recipe is simple enough you’ll wonder why you ever used the packaged mix. The combination of nuttiness and orange essence in every bite separates these from plain waffles. In addition to our Blood Orange Olive Oil, our balsamic vinegar is added to the batter instead of sugar and we even drizzled it over the waffles in the end in place of syrup. Continue reading “Orange Walnut Waffles with Lavender Balsamic”

Stuffed Figs with Goat Cheese, Bacon and Traditional Balsamic Vinegar

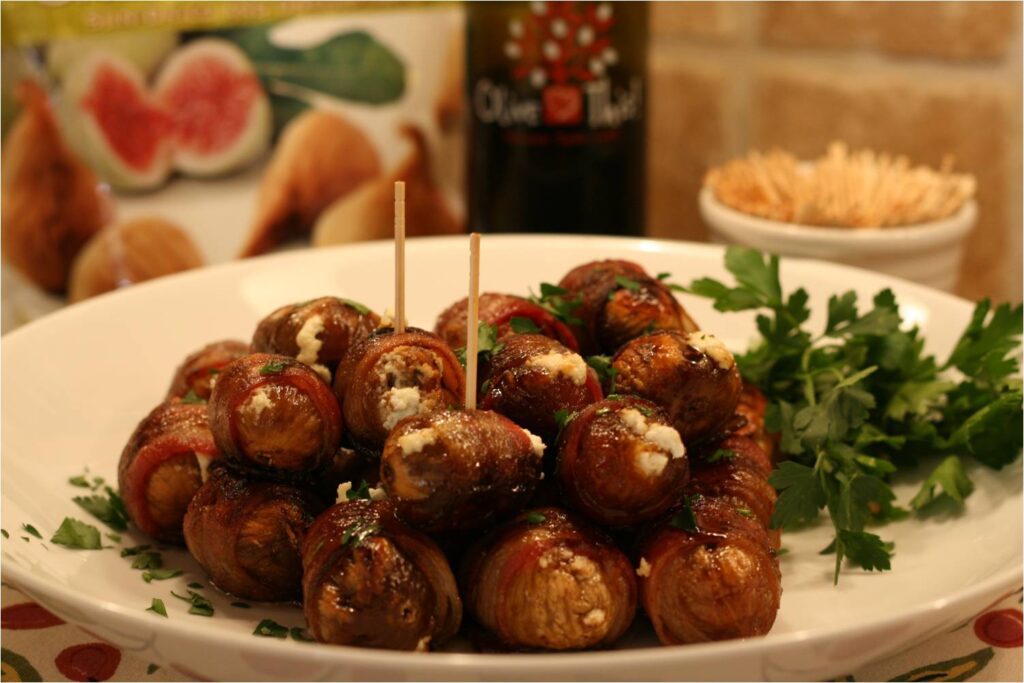
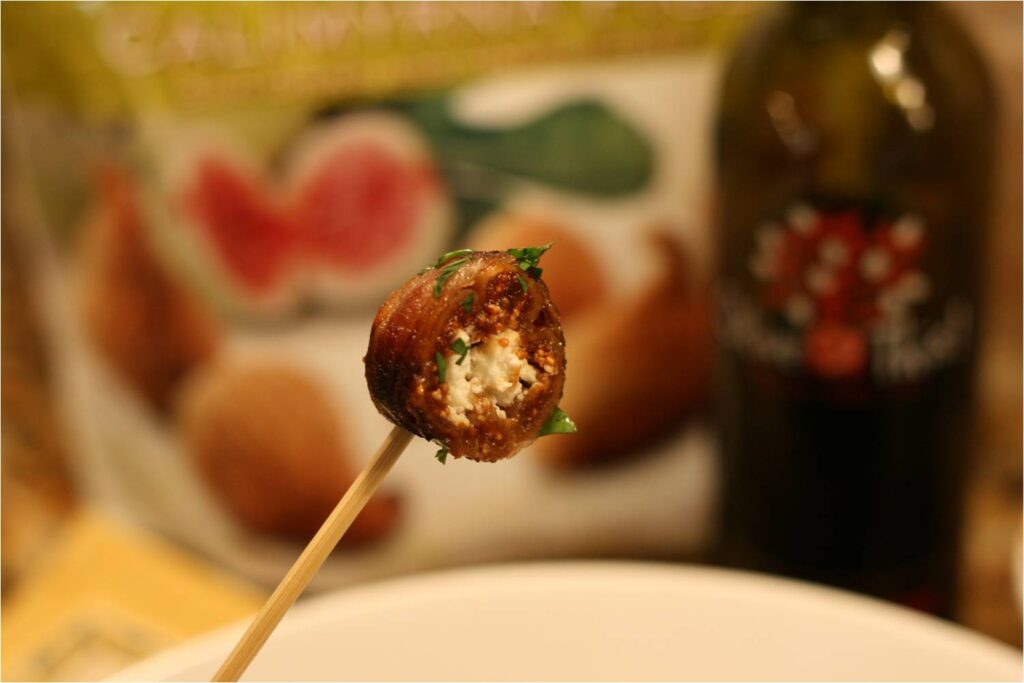
Kara’s sister, Lisa, shared the recipe for these little morsels with us and when we made them in the OT kitchen, we found them disappearing before we were done taking the photographs. They pack a great combination of savory and sweet in just one bite. The bacon molds itself around the fig as it cooks which achieves two benefits: (1) it minimizes any “leaking” of the cheese, and (2) eliminates the need to broil them with toothpicks inserted (no more burnt, crumbling toothpicks). Best of all, you can make them ahead of time and keep them wrapped in the fridge. When you’re ready to serve, pop them under a broiler for 8 minutes – which also makes it a great appetizer to take to dinner parties.

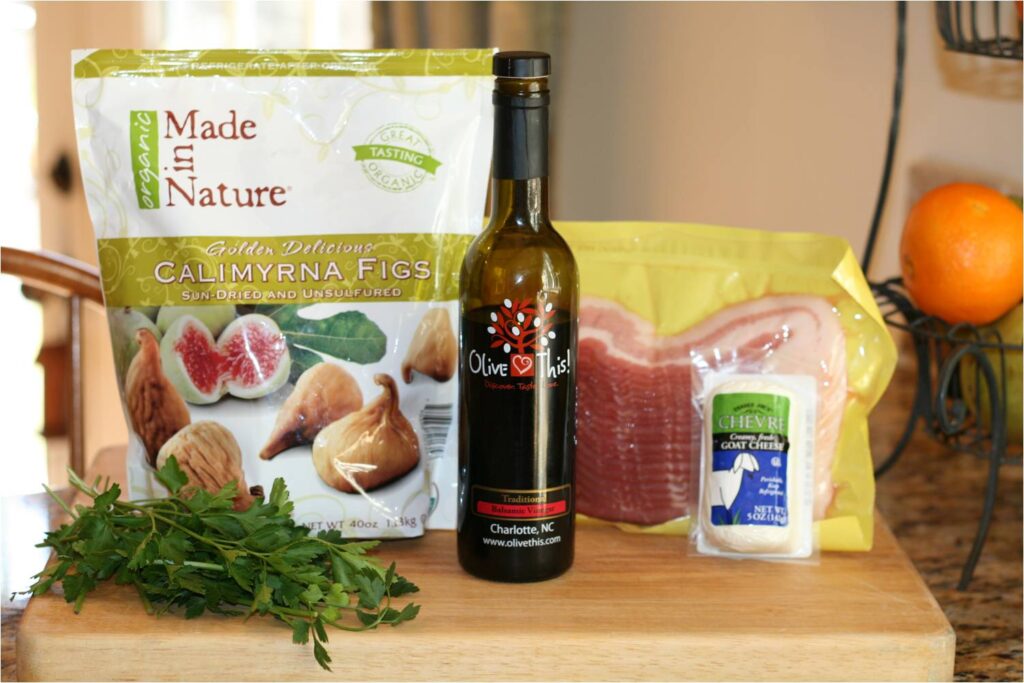
INGREDIENTS

DIRECTIONS

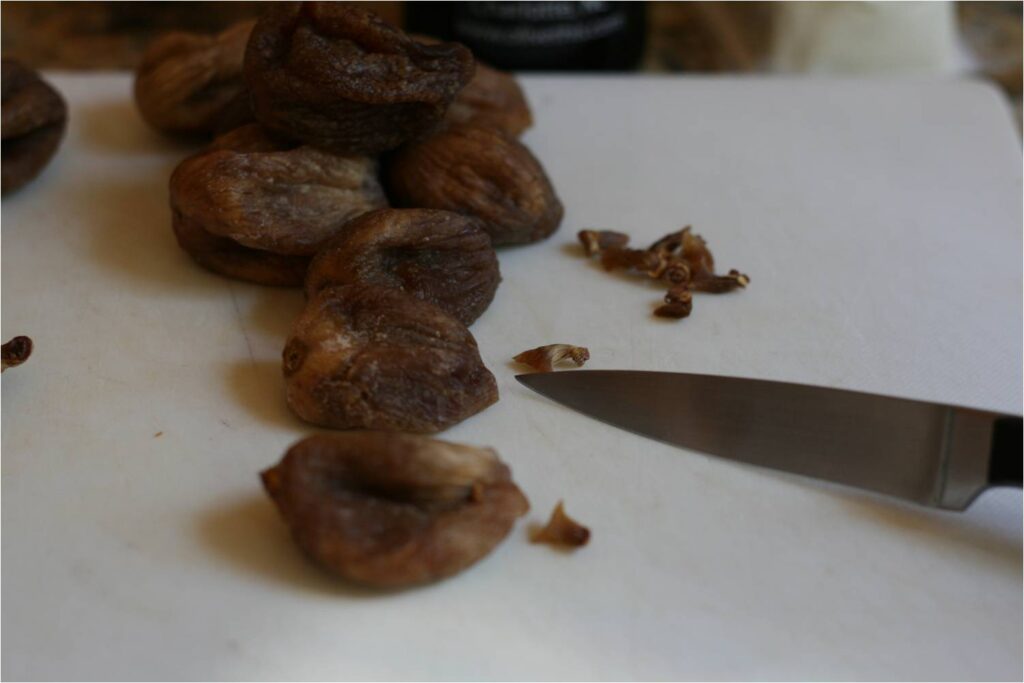
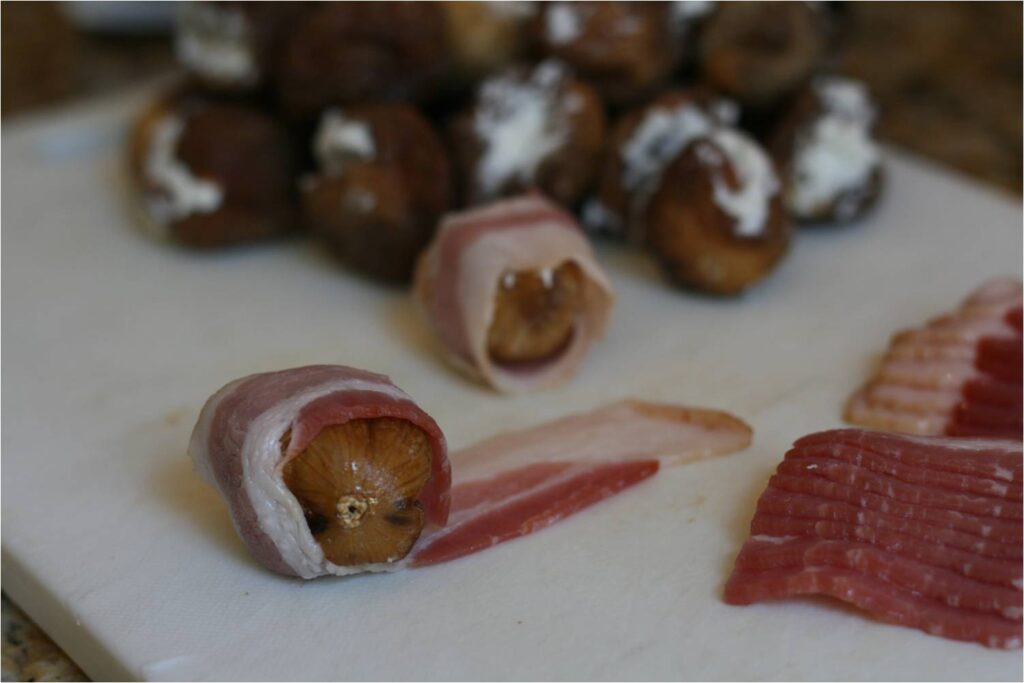
Start by removing any tough stems from the figs.

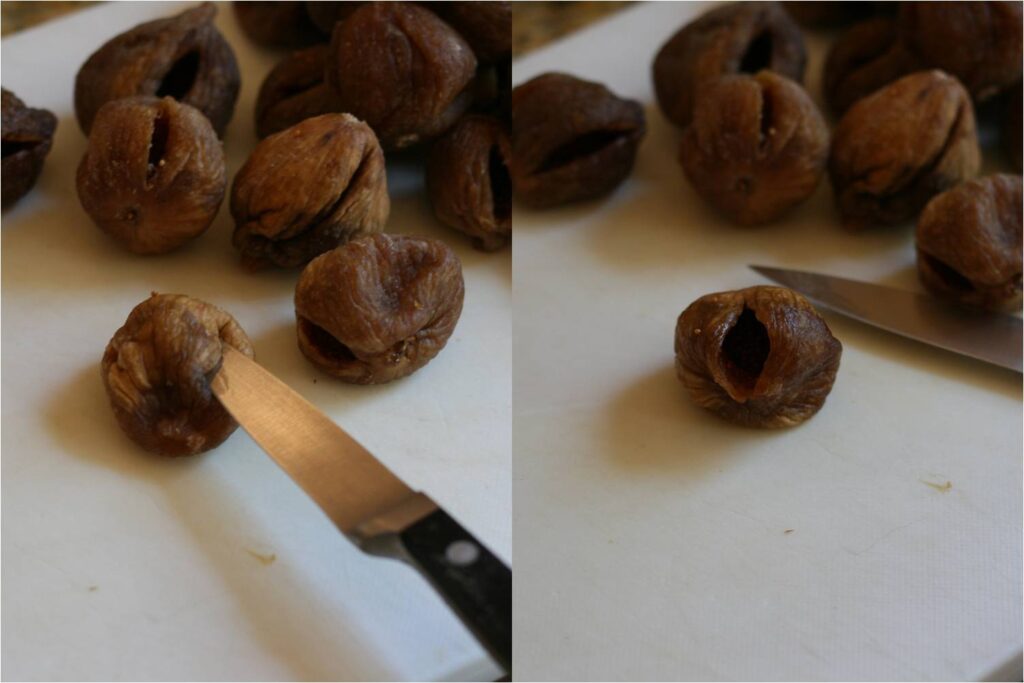
Cut a slit in the side of each fig. Use a spoon (or your finger) to create a “pocket” in each fig.

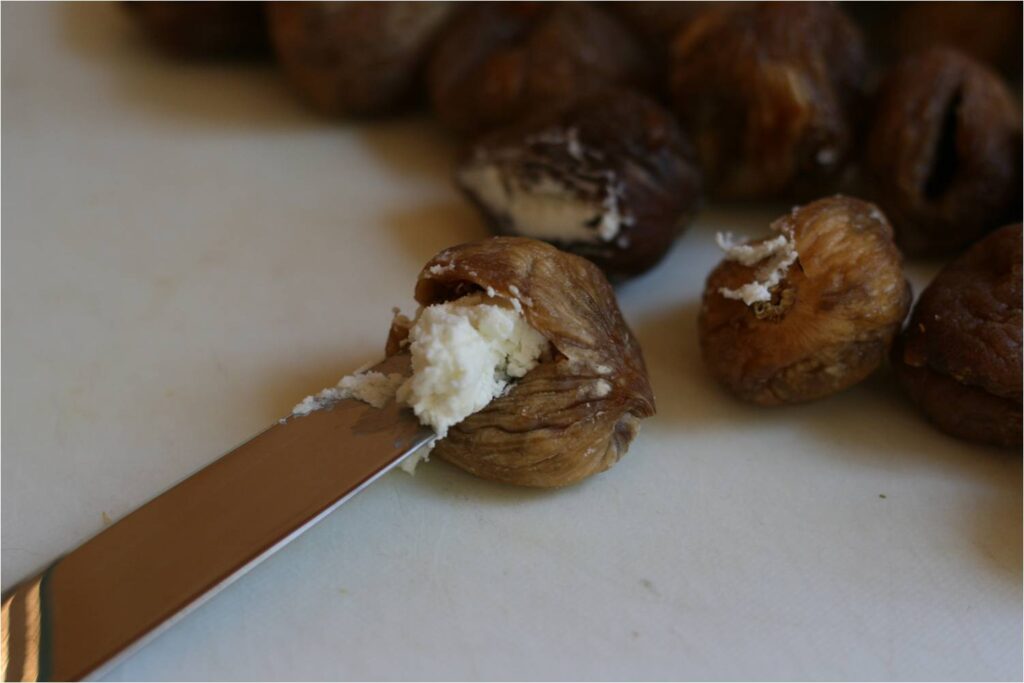
Use a knife to put about 1 teaspoon of goat cheese into the pocket of each fig. Try to distribute the 5 ounces of goat cheese equally among the 24 figs.

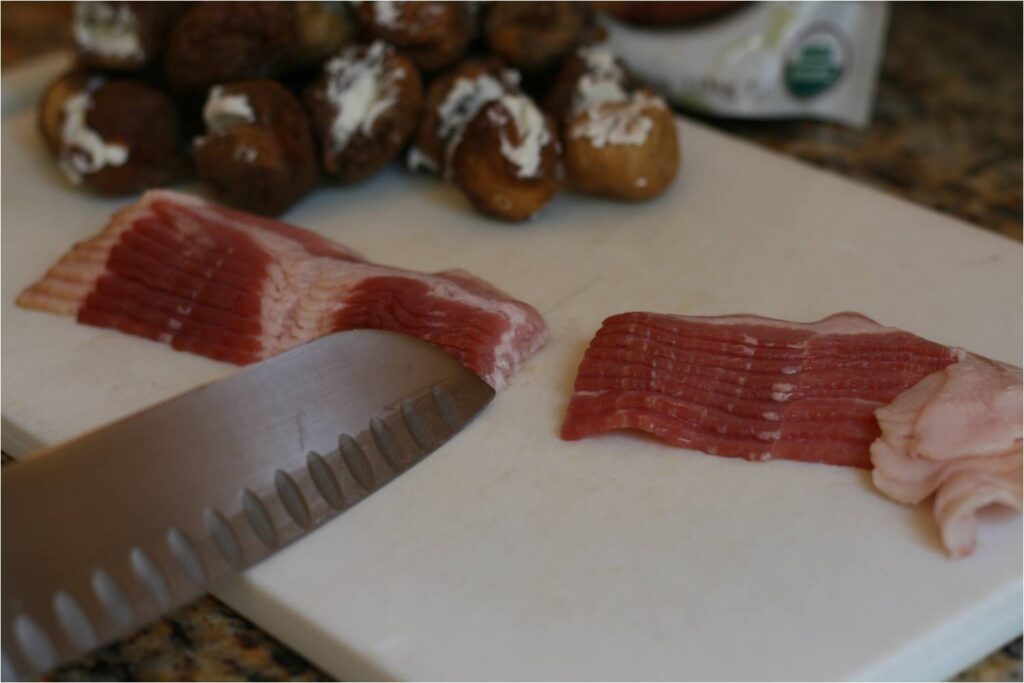
Once all the figs are stuffed, it’s time to wrap them in bacon. Cut the bacon slices in half to create 24 half-slices.

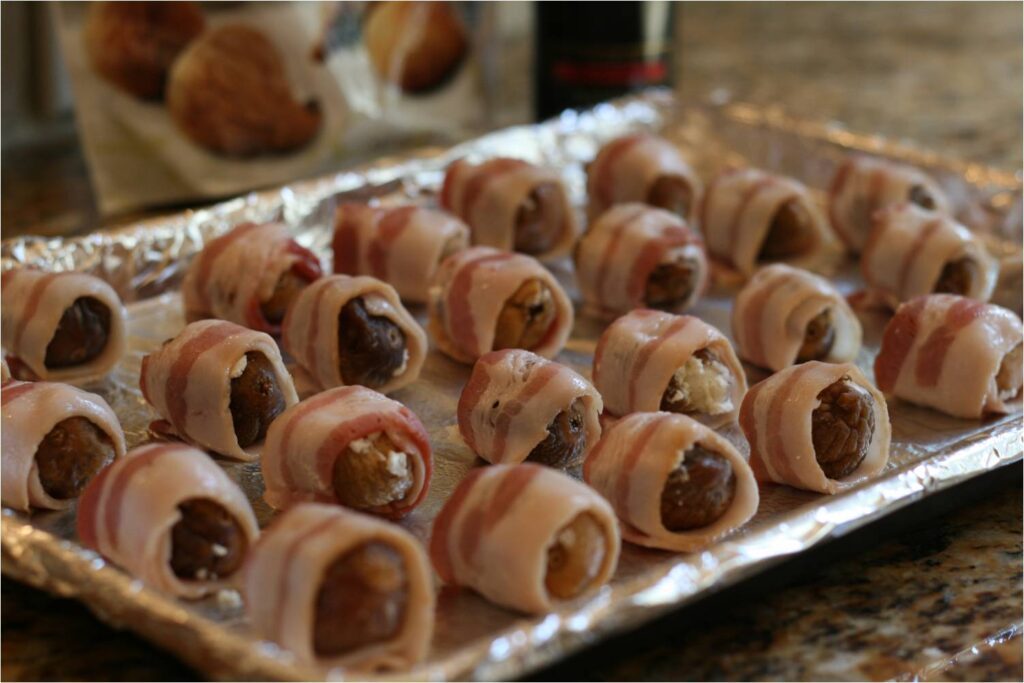
Wrap each stuffed fig with the half slice of bacon. Place them on a cookie sheet covered with foil.

You do not need to secure the bacon with toothpicks prior to cooking but make sure the open flap of bacon is underneath the weight of the fig. If making ahead, wrap with plastic wrap and store in the fridge until you’re ready to broil.

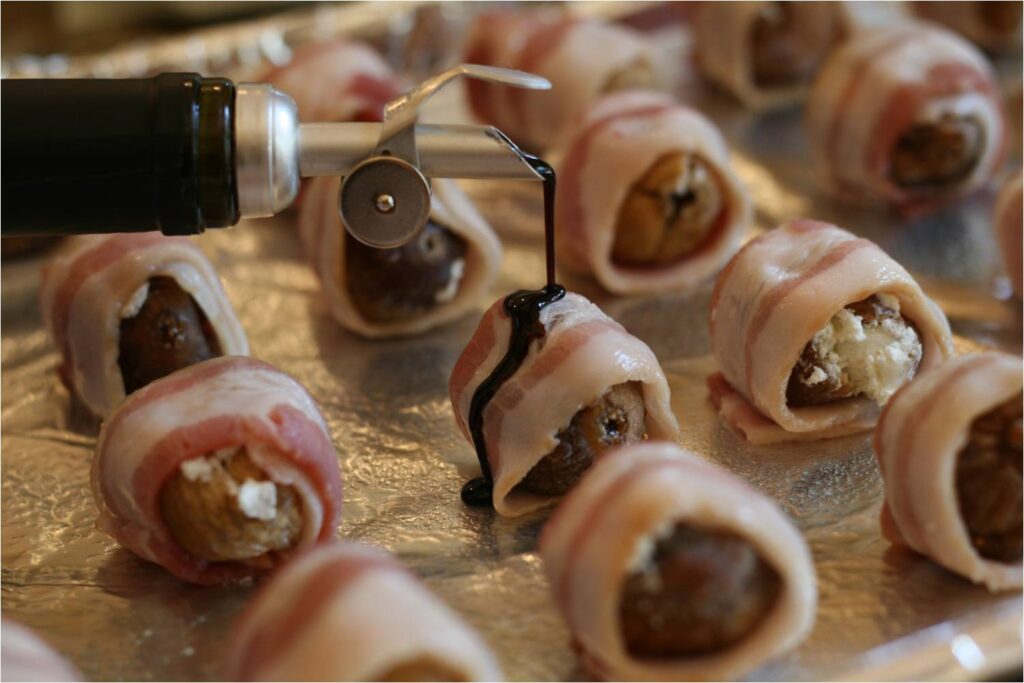
Preheat the broiler. Remove plastic wrap and drizzle Olive This! balsamic vinegar on each fig. Note, if you choose to substitute an alternative balsamic, you may need to reduce the vinegar to the thickness achieved by our Olive This! Traditional balsamic.

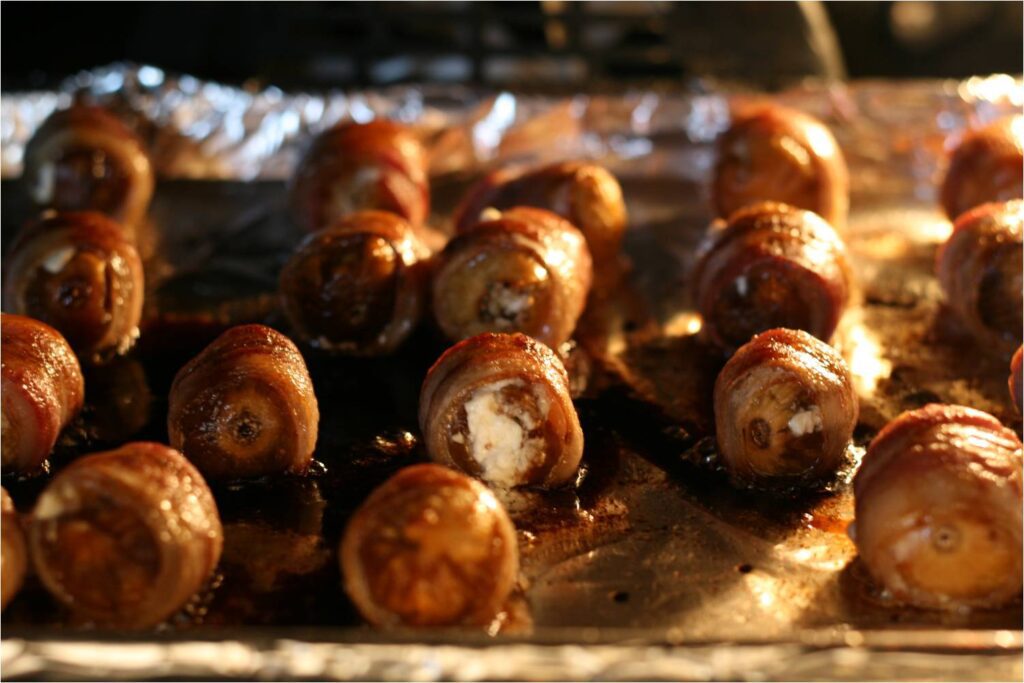
Place under the broiler for about 8 minutes. Keep an eye on it at around 6 minutes. It may need to go a little longer or shorter, depending on how brown the bacon becomes.

Drizzle with some extra balsamic vinegar and sprinkle the plate of finished figs with chopped parsley. Serve with toothpicks on the side. Depending on the size of the figs you’re using, it may be a mouthful to eat it in one bite – but it’s worth it!

MAKES 24 FIGS

Have a comment? We’d love to hear from you. Have you tried this dish? Do you have a variation that you think others will enjoy? Leave us a comment below.

The Sweet & Sour Italian

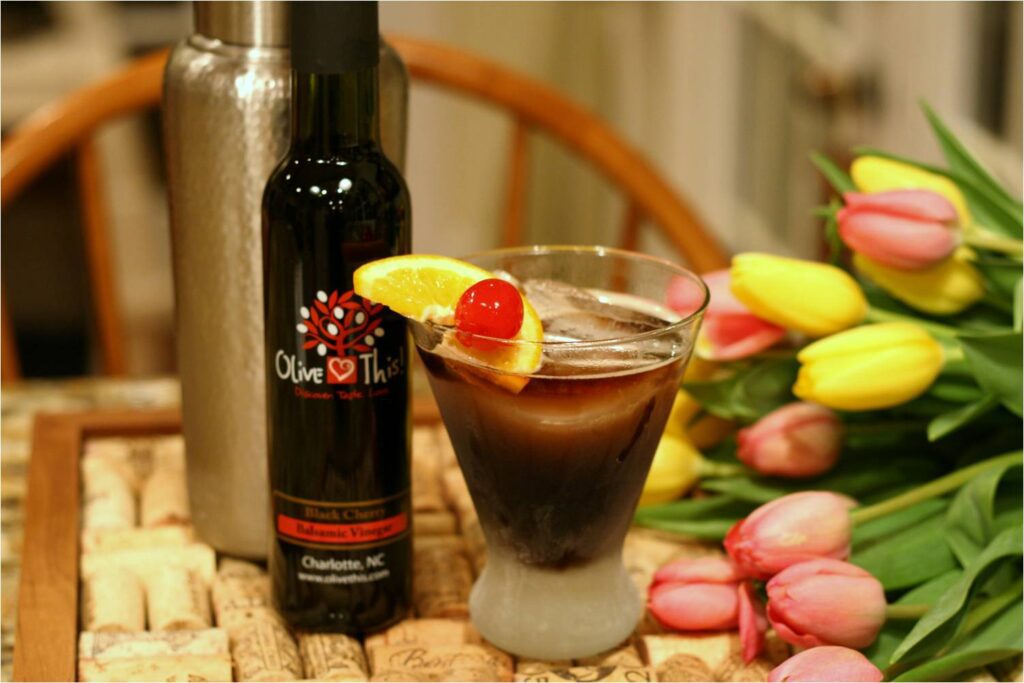
March was the month we chose to showcase our customer-submitted recipes each week. We had so many good submissions that we are spilling into the first week of April with just one more. Here we have our customer-turned-mixologist, Patrick, with another new drink creation. He is not new to concocting creative libations as you see here in the Drinks section of the website. Patrick and his wife Christine have been long time supporters being one of our first customers when we opened our doors in July 2012. This time Patrick has a fruity twist to the Amaretto Sour that he calls the Sweet and Sour Italian. Continue reading “The Sweet & Sour Italian”

What is Mother?

Mother and Must Vinegar Picture

People often ask questions about vinegar, so we thought it might be helpful to pass along some information that we hope you find interesting and useful.


What is “Mother”?


“Mother” of vinegar will naturally occur in vinegar products as the result of the vinegar bacteria itself. Mother is actually cellulose (a natural carbohydrate which is the fiber in foods like celery and lettuce) produced by the harmless vinegar bacteria. Today, most manufacturers pasteurize their product before bottling to prevent these bacteria from forming “mother” while sitting on the shelf. After opening, you may notice “mother” beginning to form. Vinegar containing “mother” is not harmful or spoiled. Just remove the substance by filtering and continue to enjoy the product.

How Long Does Vinegar Last?

The Vinegar Institute conducted studies to find out and confirmed that vinegar’s shelf life is almost indefinite. Because of its acid nature, vinegar is self-preserving and does not need refrigeration. White distilled vinegar will remain virtually unchanged over an extended period of time. And, while some changes can be observed in other types of vinegars, such as color changes or the development of a haze or sediment, this is only an aesthetic change. The product can still be used and enjoyed with confidence.

Hope that’s helpful!

Peanut Coleslaw with Blood Orange Olive Oil and Sicilian Lemon Balsamic

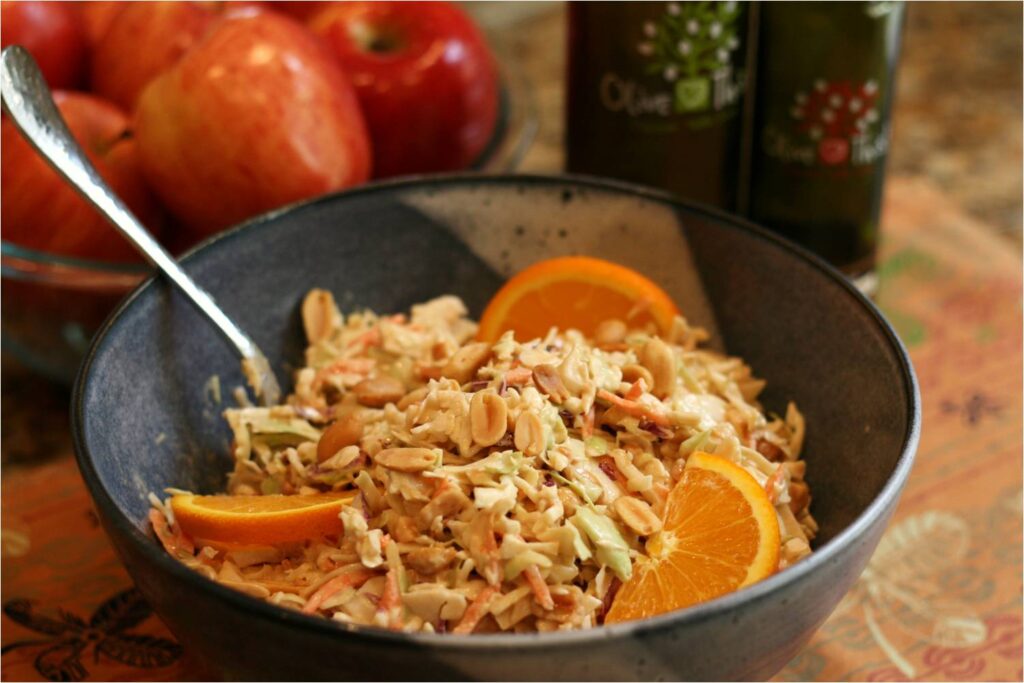
Our next customer-submitted recipe comes from a familiar friend and fellow foodie, Penny Eisenberg. Penny has been a long-time supporter of Olive This! and shared many of her delicious recipes in the past. Remember making homemade mayonnaise from our olive oil products? Those were from Penny. She has many more creative recipes on her beautiful website. What we liked about this coleslaw recipe was the full peanut flavor from the peanut butter (that also helped the dressing cling to the cabbage) followed with bright notes of citrus from the Blood Orange Olive Oil, Sicilian Lemon Balsamic and a squeeze of fresh orange juice. Continue reading “Peanut Coleslaw with Blood Orange Olive Oil and Sicilian Lemon Balsamic”

Dr. Ulla’s “Ice Cream” Sunrise Smoothie with Blood Orange Olive Oil

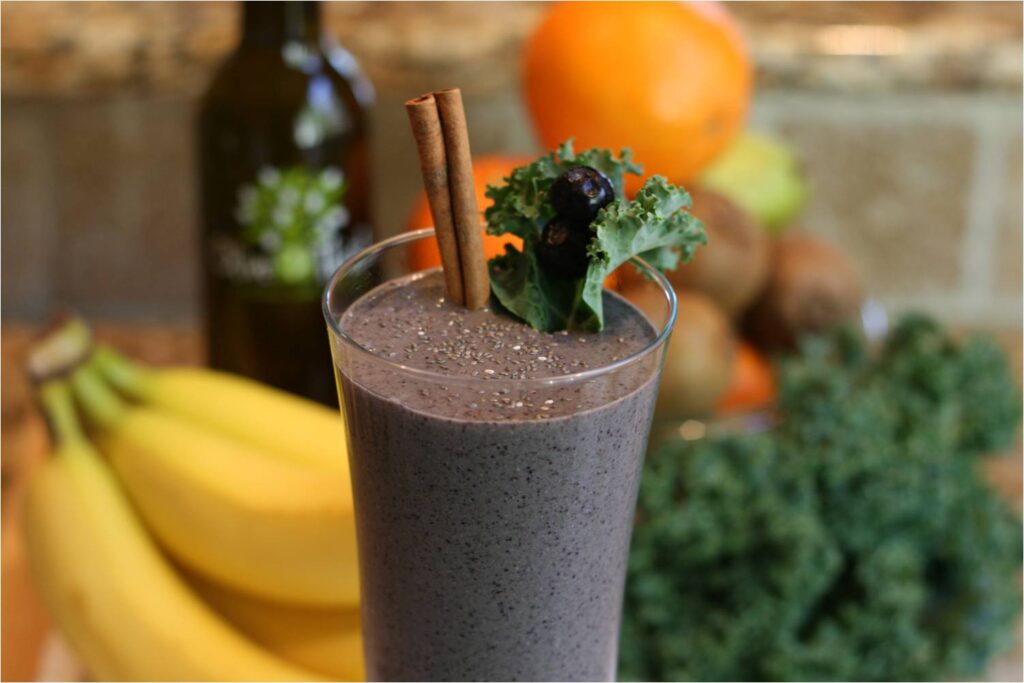
Our next customer-submitted recipe comes to us from Dr. Ulla Svane, D.C.  Dr. Ulla is one of those people who “talks the talk” and “walks the walk.” As a doctor of chiropractic medicine, she believes in the importance of taking care of your body, both inside and out. We’ve appreciated her support of our neighborhood school, our store, and we sure are grateful for this wonderful recipe. Continue reading “Dr. Ulla’s “Ice Cream” Sunrise Smoothie with Blood Orange Olive Oil”

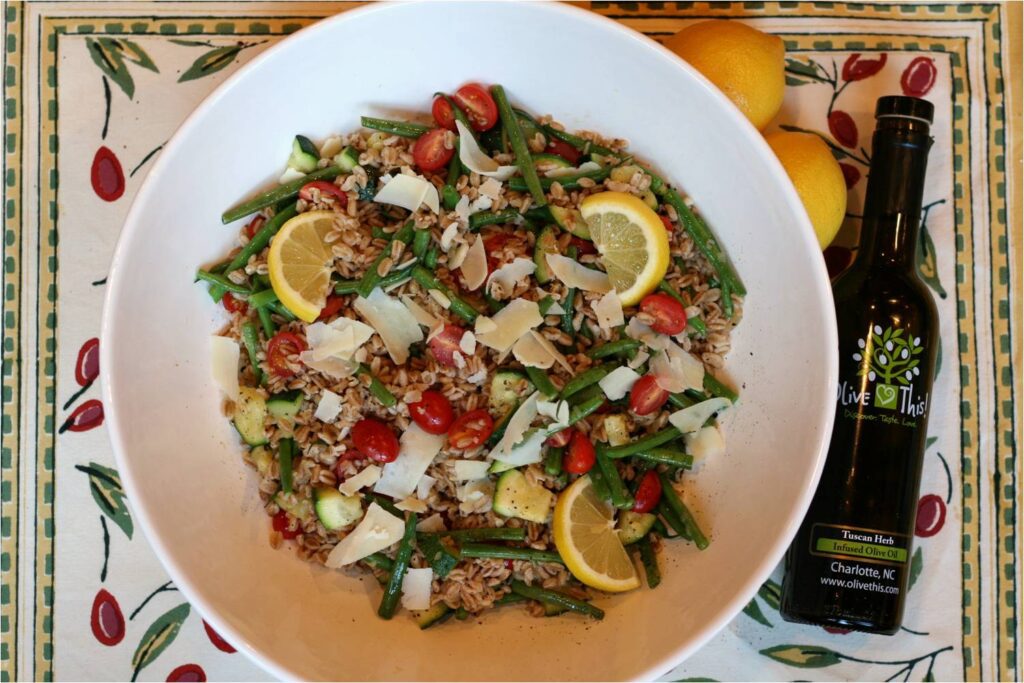
Veggie Farro with Tuscan Herb Olive Oil

Continuing with our theme of showcasing our customer-submitted recipes this month, this fabulous dish comes to us from Dorothy, our friend, faithful customer and talented artist all the way from upstate New York (www.dorothylorenze.com). She spends her summers in Charlotte and was one of our first customers. Farro is a grain from a certain wheat species in whole form. It has a nutty flavor and very similar texture to brown rice or pasta. It is gluten-free and rich in fiber. Combine it with a basket full of veggies and our Tuscan Herb olive oil and this dish does not disappoint. Dorothy wrote: “Just ate a yummy veggie-farro dish whose secret ingredient was Tuscan Herb olive oil from Olive This! Tuscan Herb adds a touch of authentic flavor when I don’t have any basil at hand. Thanks for making my day…I mean dinner. Fresh and delicious!”

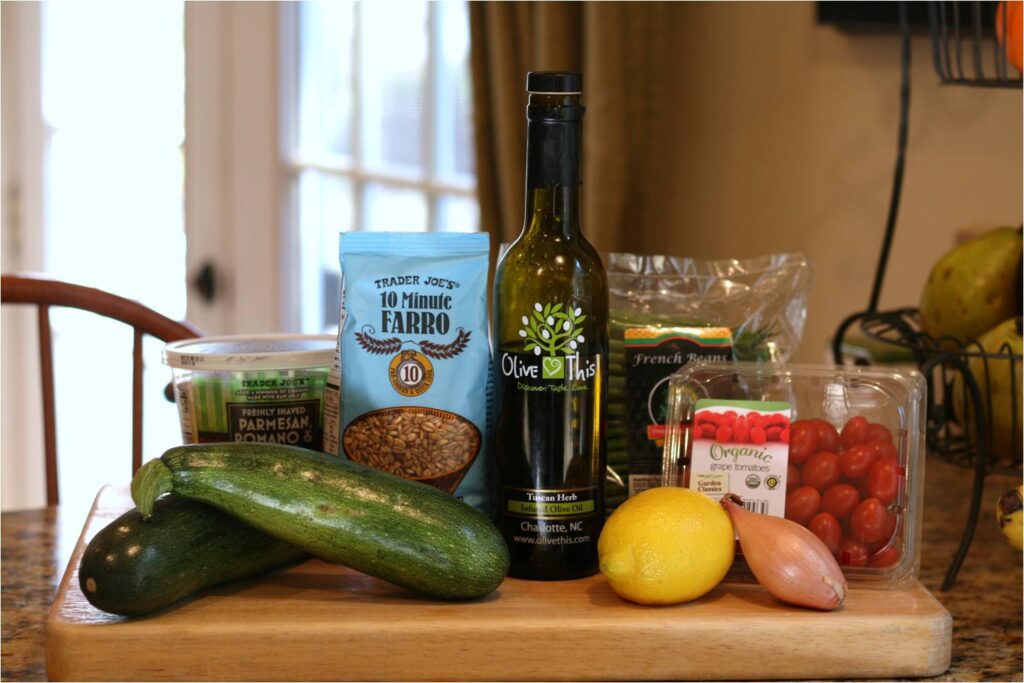
INGREDIENTS

  • 1 or 2 zucchinis, diced
  • 1 shallot, finely chopped
  • 4 tablespoons Olive This! Tuscan Herb Olive Oil, divided
  • 4 cups of cooked farro, prepared according to package directions
  • ½ pound French green beans
  • grape tomatoes, about 24, sliced in half
  • 1 tablespoon freshly squeezed lemon juice, and lemon slices to garnish
  • ½ cup grated or shaved Parmesan Romano cheese
  • salt and freshly ground black pepper

DIRECTIONS

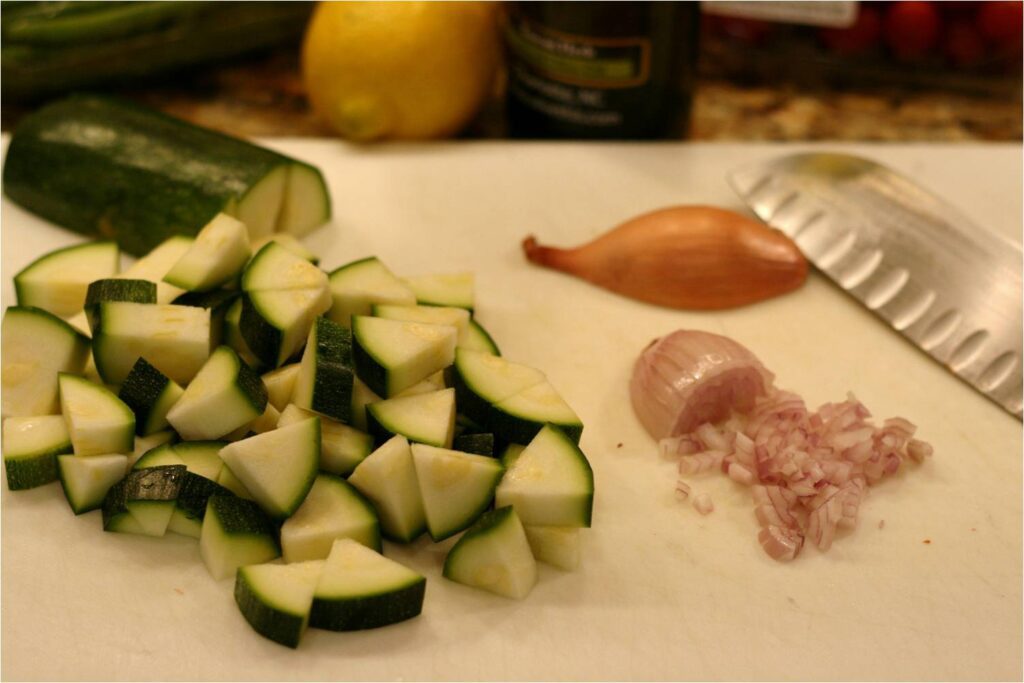
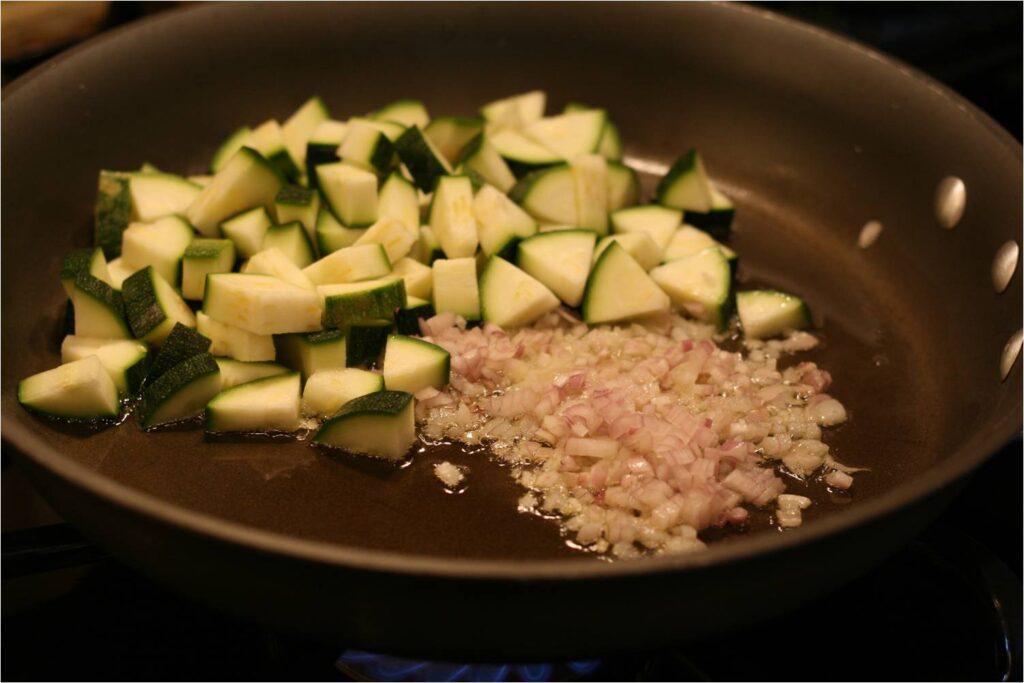
Dice the zucchini and finely chop the shallot.

SautĂŠ the zucchini and shallots in 1 tablespoon of the Tuscan Herb Olive Oil for about 3-5 minutes.

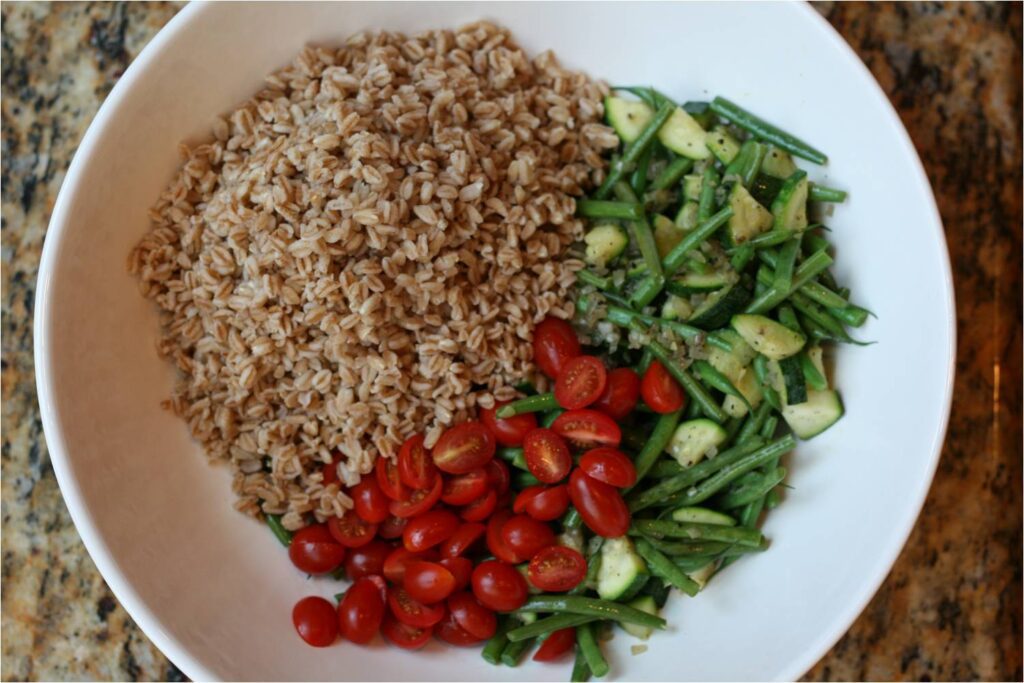
Cut the French green beans into bite-sized pieces – either in half or in thirds – and add to the zucchini and shallots. Sauté for an additional 3-5 minutes.

Transfer the sautĂŠed vegetables to a large serving bowl. Add the prepared faro, halved grape tomatoes, the 1 tablespoon of freshly squeezed lemon juice, and the remaining 3 tablespoons of Tuscan Herb Olive Oil. Toss well to combine.

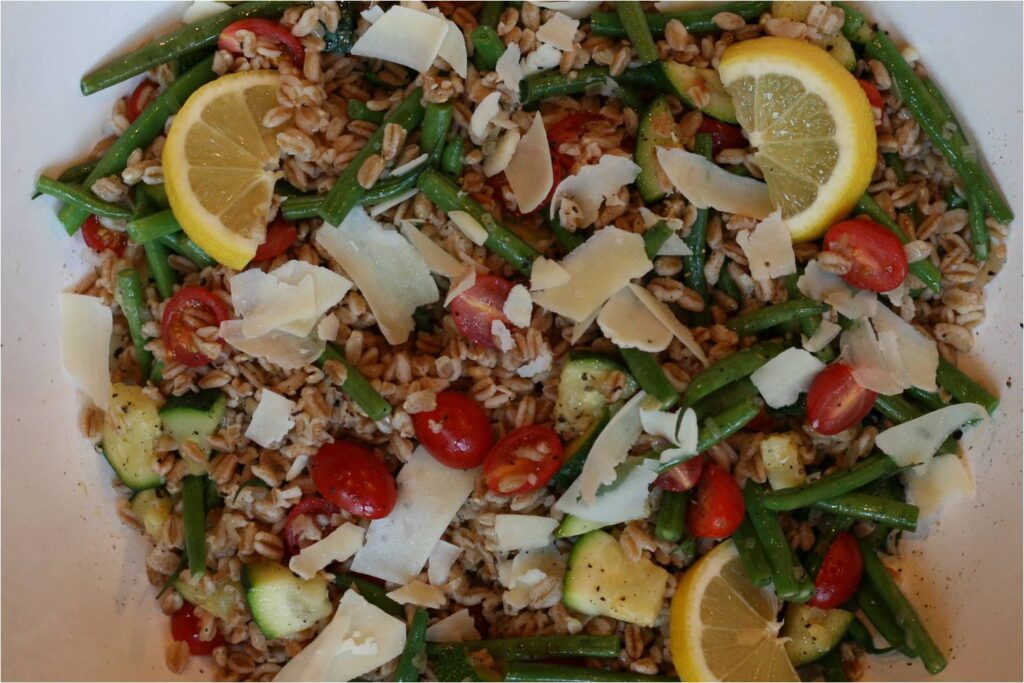
Generously salt and pepper to taste. Toss again, if necessary. Garnish with the ½ cup of shaved or grated Parmesan Romano cheese. Serve immediately.

SERVES 6

Have a comment? We’d love to hear from you. Have you tried this dish? Do you have a variation that you think others will enjoy? Leave us a comment below.
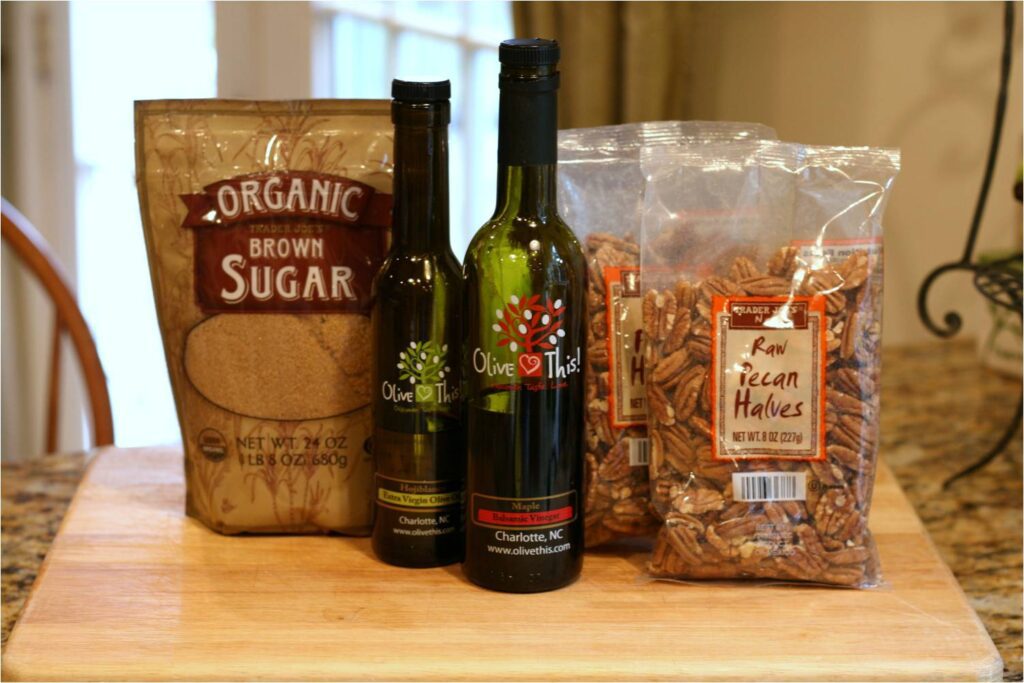
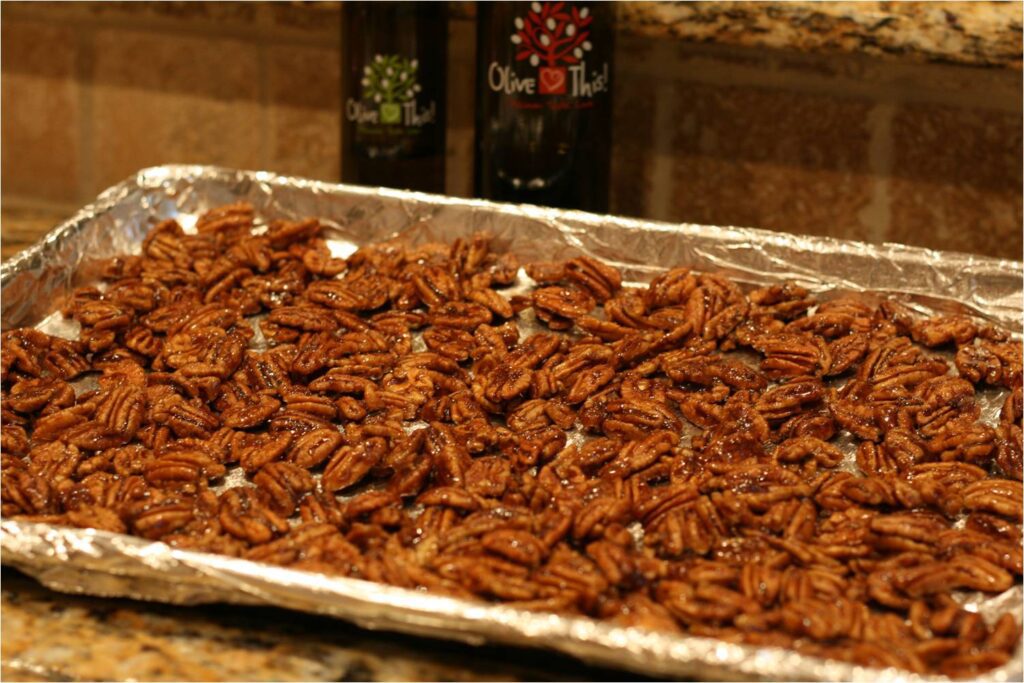
Maple Balsamic Glazed Roasted Pecans

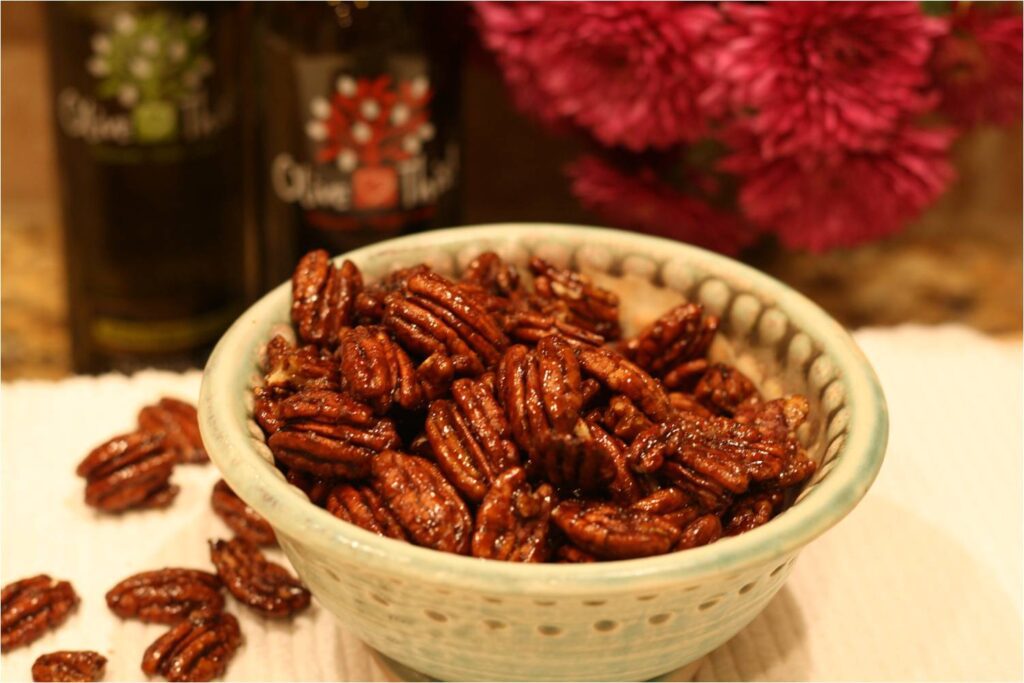
To start us off, Cary from Charlotte, brought these delightful treats into the store in February and they were gone in minutes. She was kind enough to share her recipe and we gave it a whirl in the OT Kitchen. It was a hit. Cary suggests adding these to salads for some sweet crunchiness or as an easy make-ahead appetizer or snack. One customer who sampled them was inspired to crush them with a rolling pin and use them as a crust for baked chicken. Another wanted to add them atop her praline ice cream dessert. One note of caution…make a lot! They will disappear in the pantry before you know it! Thank you, Cary, for passing along such a great recipe.

INGREDIENTS

DIRECTIONS

Preheat oven to 350 degrees F.

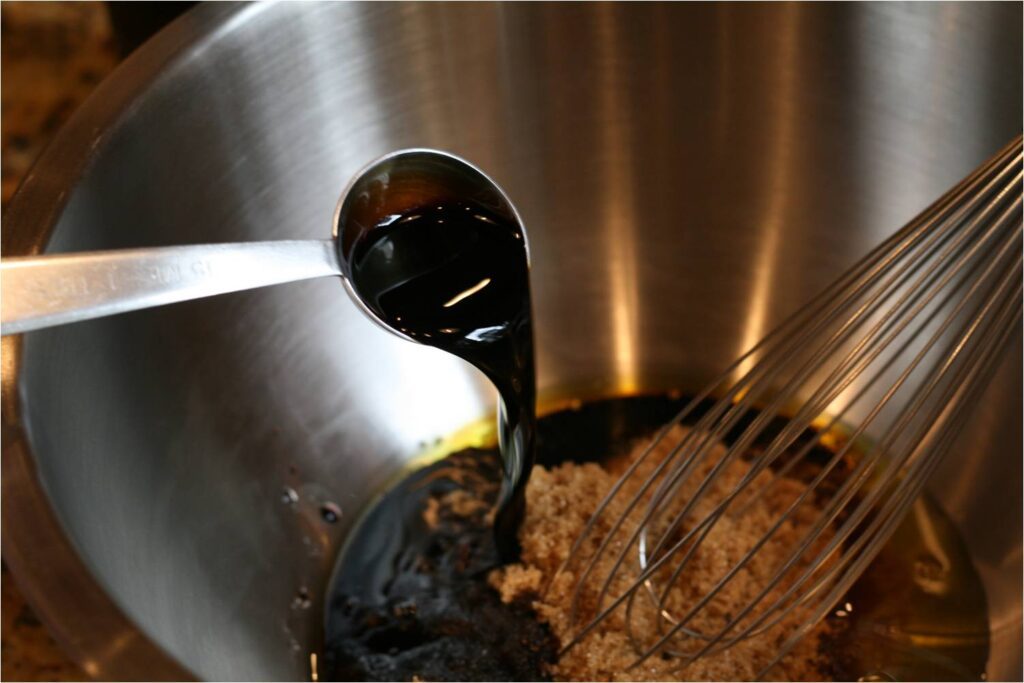
Combine the brown sugar, maple balsamic, olive oil and water in a medium-sized bowl. Whisk together well.

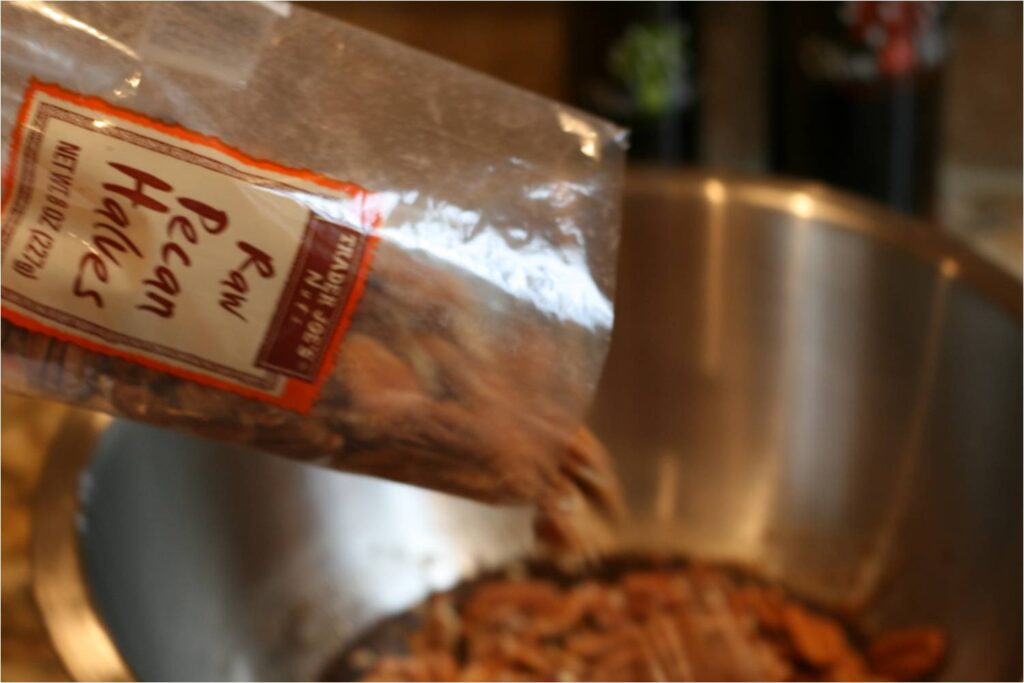
Add pecans to maple glaze.

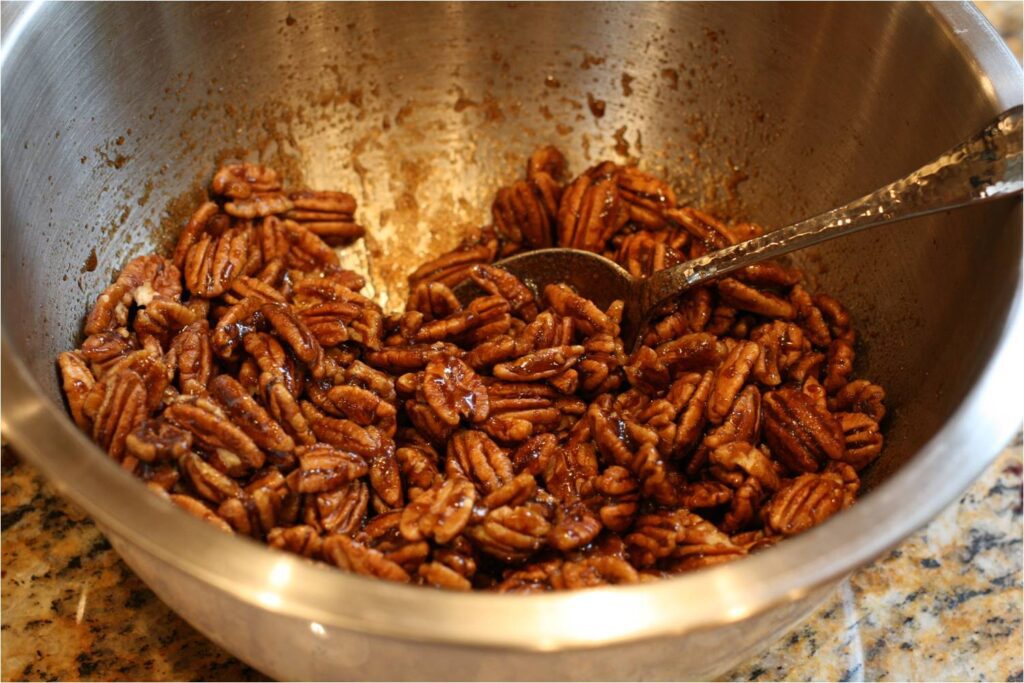
Use a large spoon to stir making sure all the pecans are coated well.

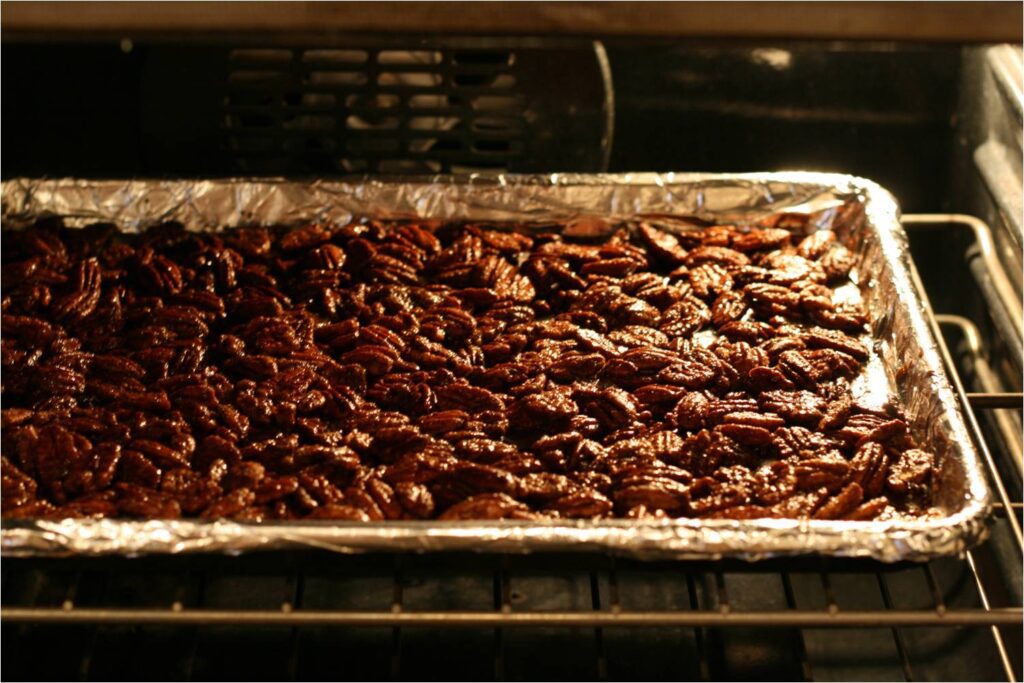
Line a baking sheet with foil and brush with olive oil. Spread pecans onto the baking sheet in a single layer.

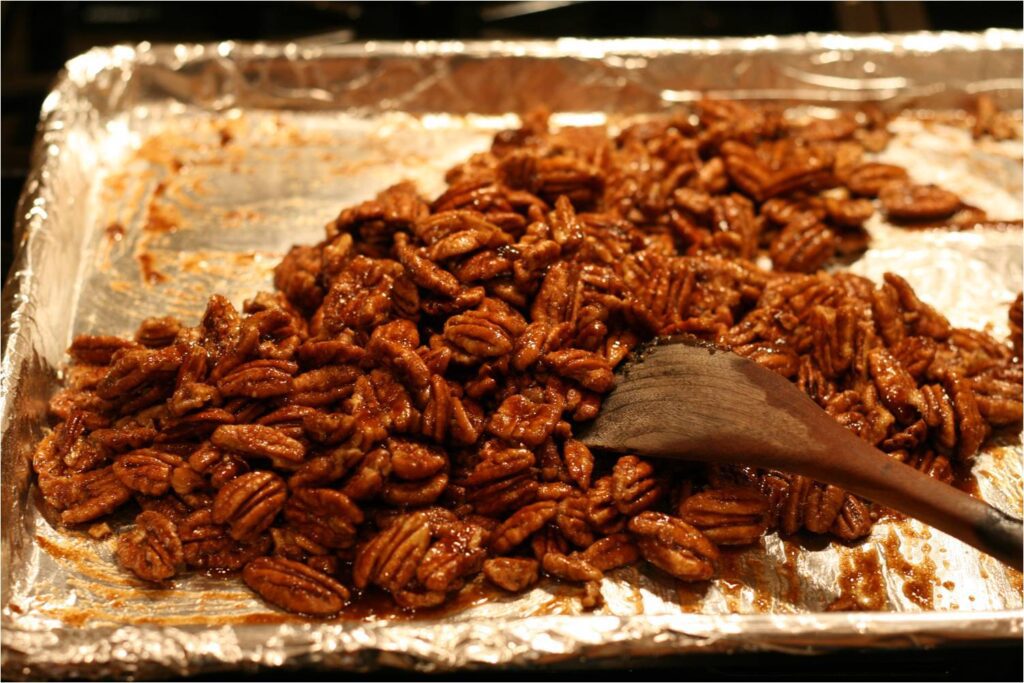
Roast pecans in oven for 20 minutes tossing 2-3 times throughout cooking time. With different ovens varying in temperature, it’s a good idea to keep an eye on the pecans during the last 3 minutes; they can burn easily.

Remove pecans from oven and stir frequently throughout cooling time (about 5 minutes) to prevent clumping.

One variation Cary also suggested was adding 1 teaspoon of cinnamon to the glaze before adding the nuts. This will give a maple/cinnamon flavor to the pecans.

MAKES ABOUT 4 CUPS

Have a comment? We’d love to hear from you. Have you tried this dish? Do you have a variation that you think others will enjoy? Leave us a comment below.
Stay updated with the latest news from Olive This! - Sign up for our newsletter here.
Copyright 2021 - Olive This! - All rights reserved. Privacy Policy.
Site by Horde Marketing, LLC